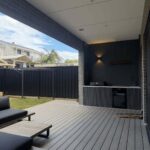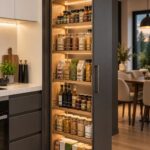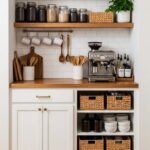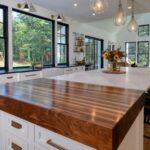
These outdoor grilling station ideas run from a simple rotisserie attachment on a kettle grill to built-in masonry with plumbing and exhaust hoods, and the deciding factor is how permanent your commitment to the spot is.
Rolling carts with locking casters suit anyone who might move the station season to season; poured concrete, buried gas lines, and stone benches that outlast the grill itself fit only a spot you know you will keep.
The 22-inch kettle remains my baseline size for judging any grill setup; smaller splits dinner into shifts, larger burns fuel unevenly on ordinary nights.
1. Outdoor Grilling Station with Cabinets and Drawers
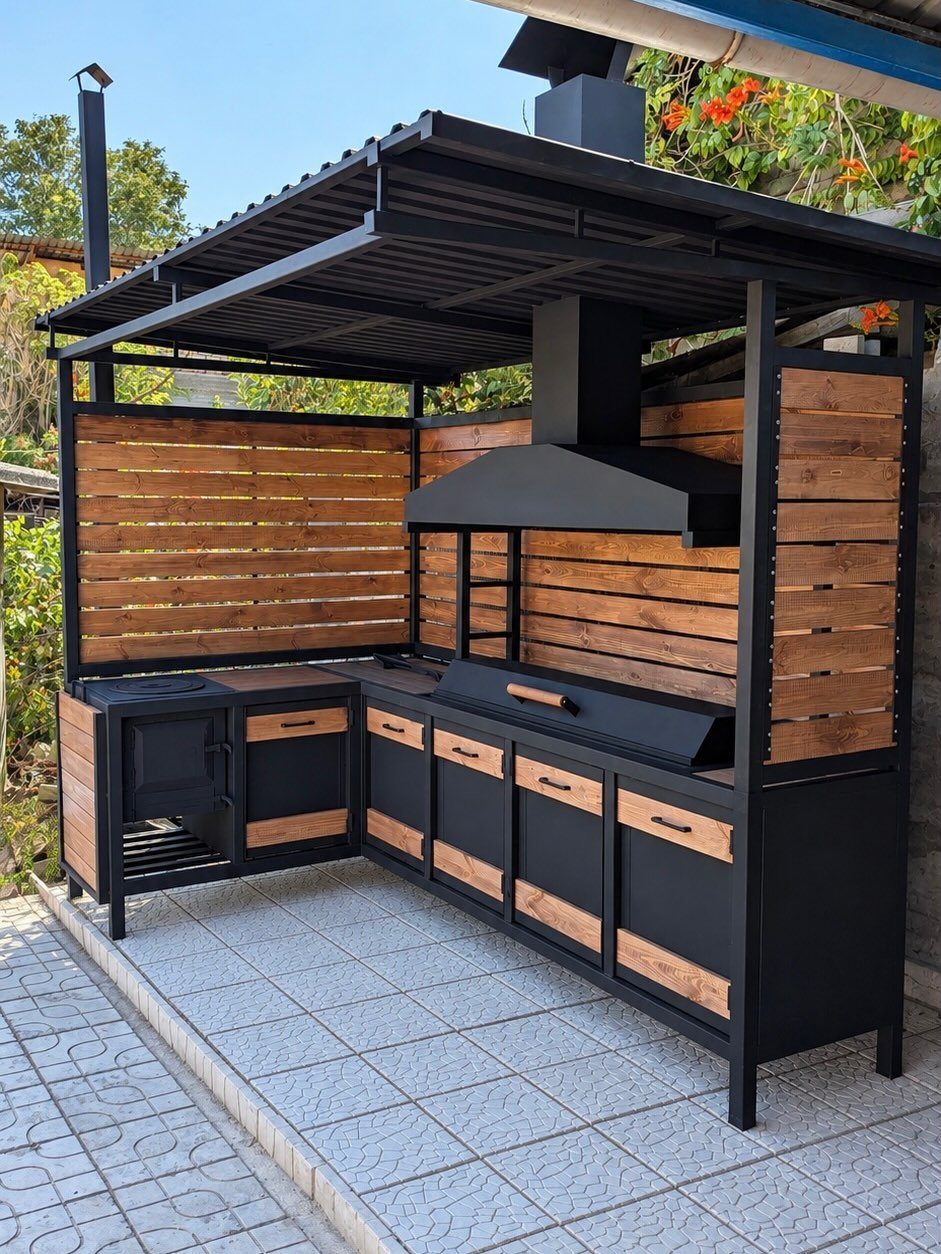
Cabinets and drawers turn a grill from a freestanding appliance into a working kitchen. I like the black metal frame with wood slats; it keeps the weight down and the weather out better than all-wood builds.
Lower cabinets store propane tanks or charcoal out of sight, while drawers at counter height hold tools within arm’s reach.
An exhaust hood above a grilling station only earns its keep when the unit sits under a solid roof; in open air, wind turns it into decoration.
Tile underfoot is practical here: it hoses clean and takes dropped coals without scorching.
2. Install a Sink
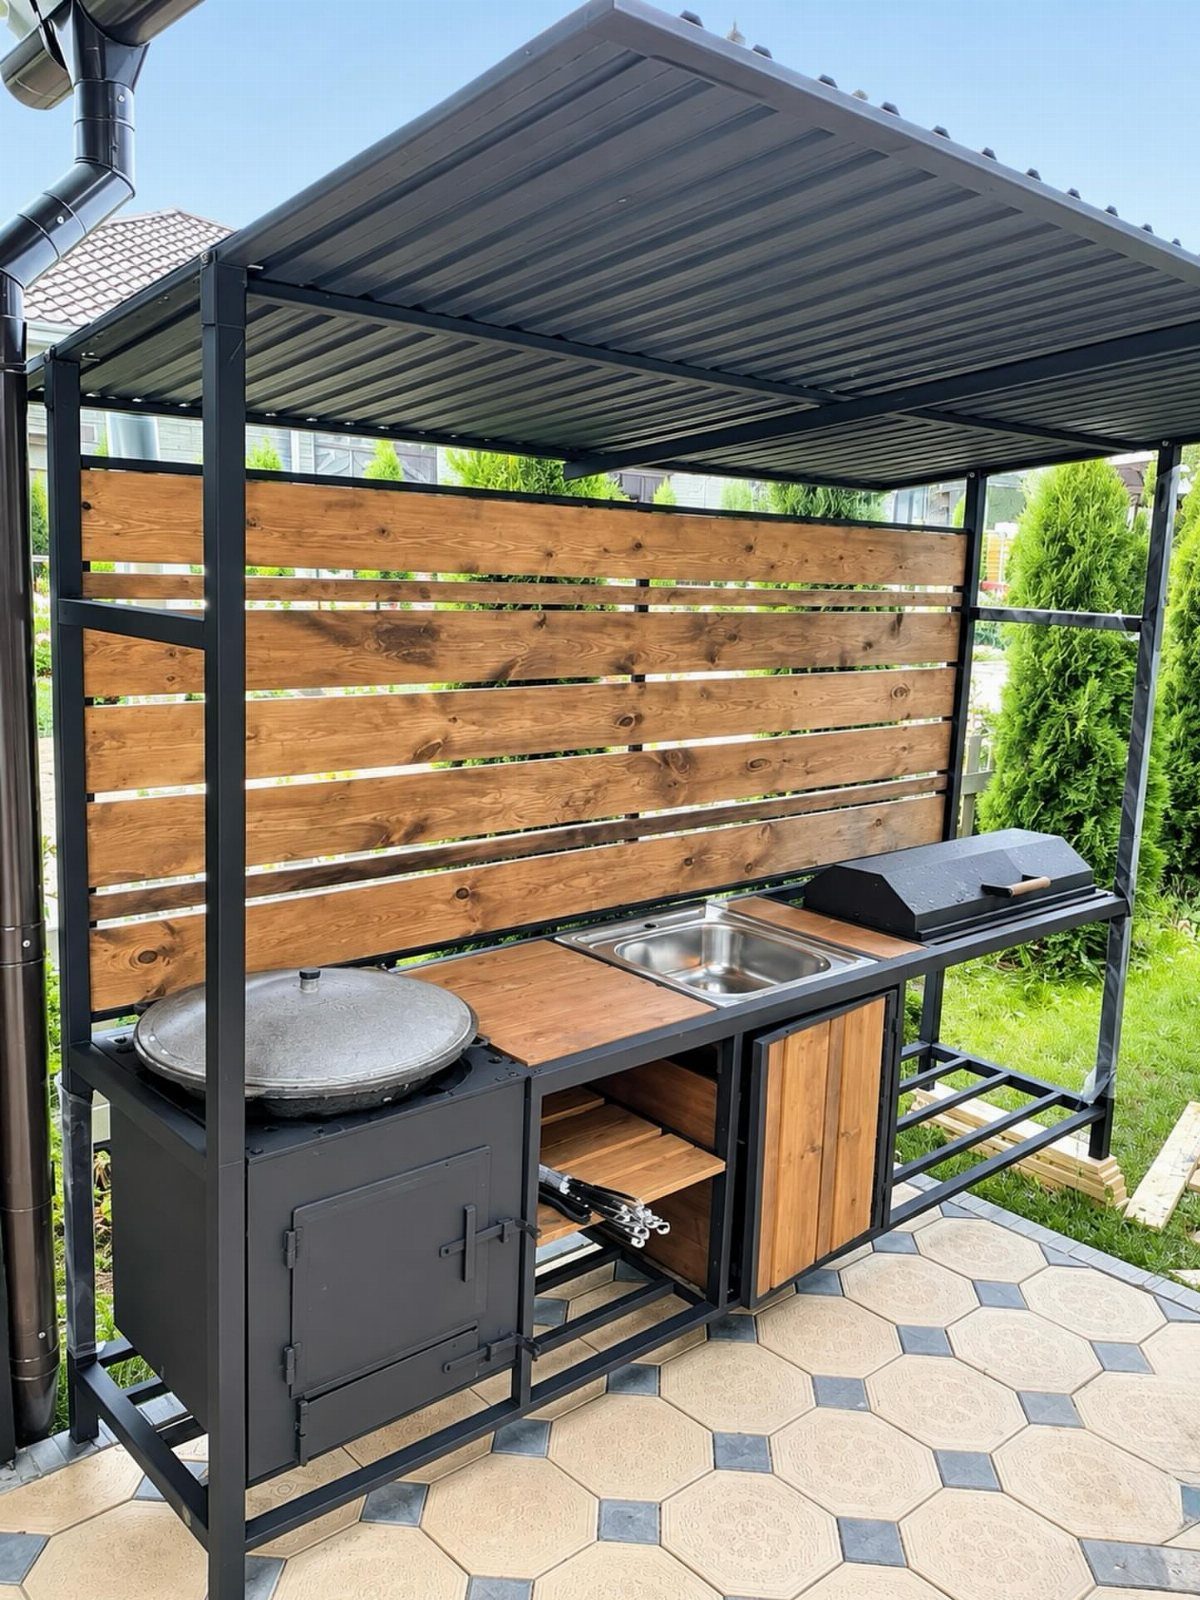
A sink at the grill station means rinsing vegetables, washing hands, and cleaning tools without tracking through the house.
This stone-patios setup runs the basin between a wood-fired stove and the grill, which I find smart; the hot side of cooking stays compact.
You will need a water line and drainage, or a hookup to a garden hose with a bucket below if you are not running pipe.
The wood countertop around this one will need oiling twice a season to stay flat; I would rather see stone or stainless there if I planned to cut directly on it.
3. Add a Pizza Oven
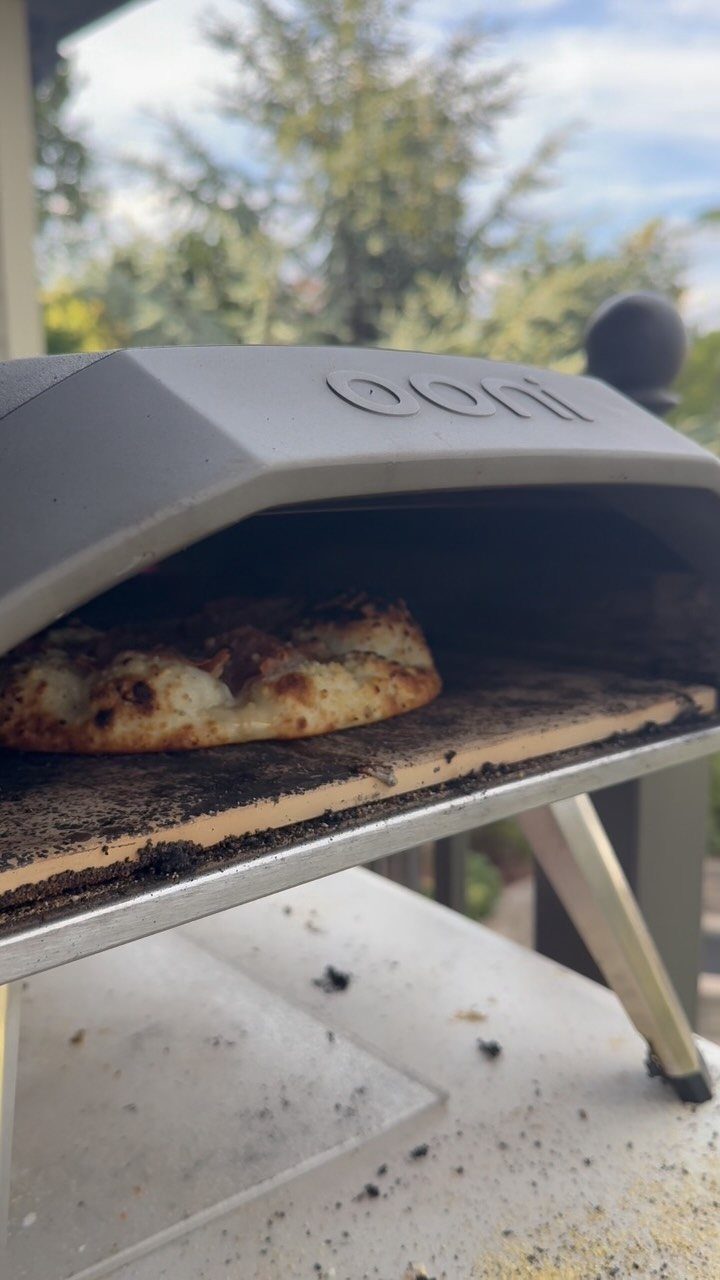
I keep mine on a metal table, not wood; the underside stays cooler than I expected, but I do not take chances. The opening is sized for a personal pizza, not a large one, so plan your dough accordingly.
It costs far less than a built-in masonry oven and stores indoors between uses. I use mine when the grill is occupied; the two together let me cook mains and sides at proper heat simultaneously.
4. Create a Modular Grill Station
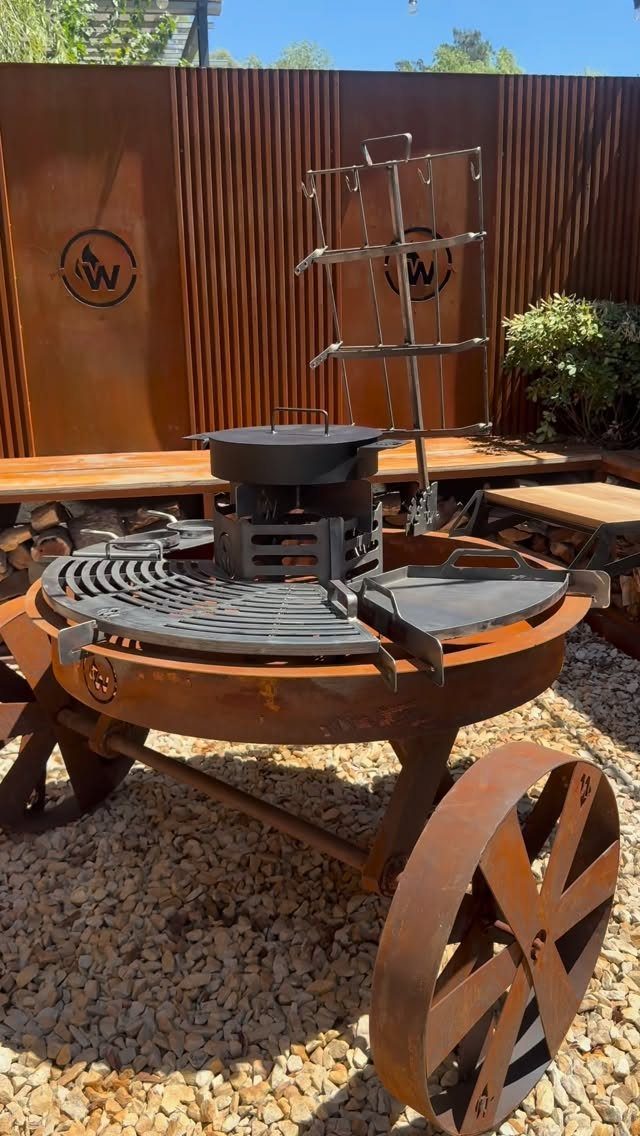
Modular means the grates, plancha, and pot hook swap out as the meal changes, and the wagon wheels mean I can reposition the whole unit when the wind shifts or when I need the space back.
Corten steel weathers to that rusted finish deliberately; no paint to maintain, though the surface will stain whatever it touches for the first year.
The circular fire basket burns wood or charcoal and the adjustable height on the grate is the feature I would not do without; it lets me sear over flame or slow-cook higher up.
This size needs clear space on all sides for safety, more than most people guess at first glance.
5. Use Rolling Carts
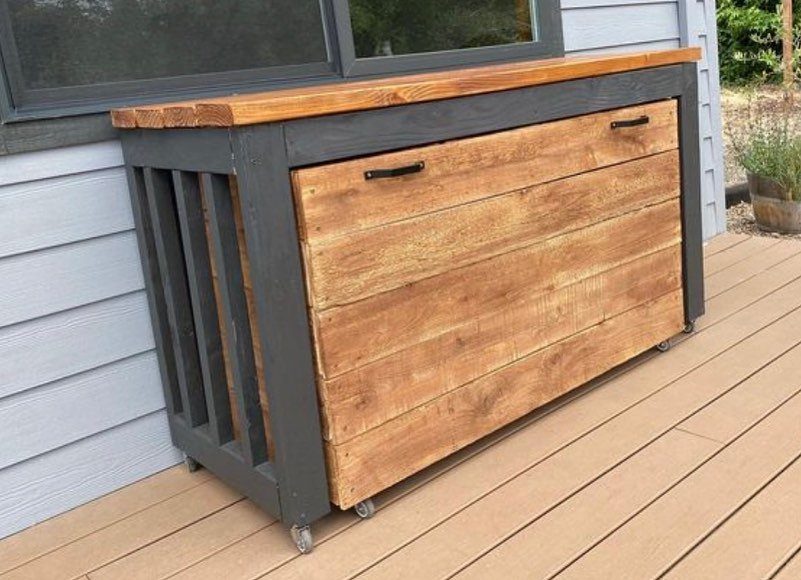
A rolling cart nested under a fixed counter gives you the best of both: permanent storage above, mobile prep where you need it.
The butcher block top on this wooden cart will need the same maintenance as any outdoor wood; I oil mine monthly in summer, less often if I keep it covered.
The black-painted frame matches the fixed counter and keeps the visual weight low.
I pull mine to the grill while cooking, then roll it to the table for serving. A cart with locking casters is essential; a runaway cart on a sloped deck is not a risk I take.
6. Build a Rustic Grill Station
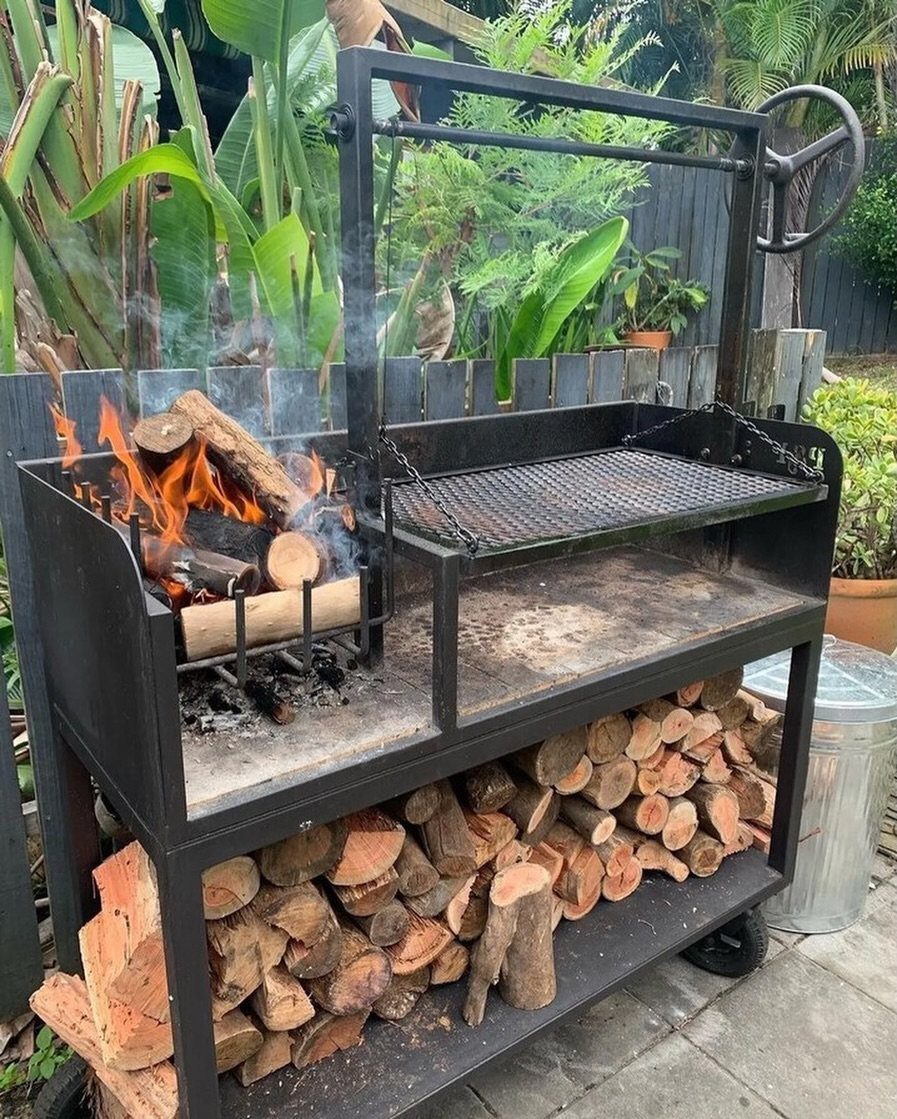
The Santa Maria-style grate cranks up and down over an open wood fire, which gives you direct heat when low and gentler cooking when raised. The black metal body sheds rain and ash alike.
This style suits cooks who tend the fire; the heat is not set-and-forget like gas. I find the work rewarding, but I would not recommend it for weeknight dinners when time is short.
7. Build a DIY Grill Station
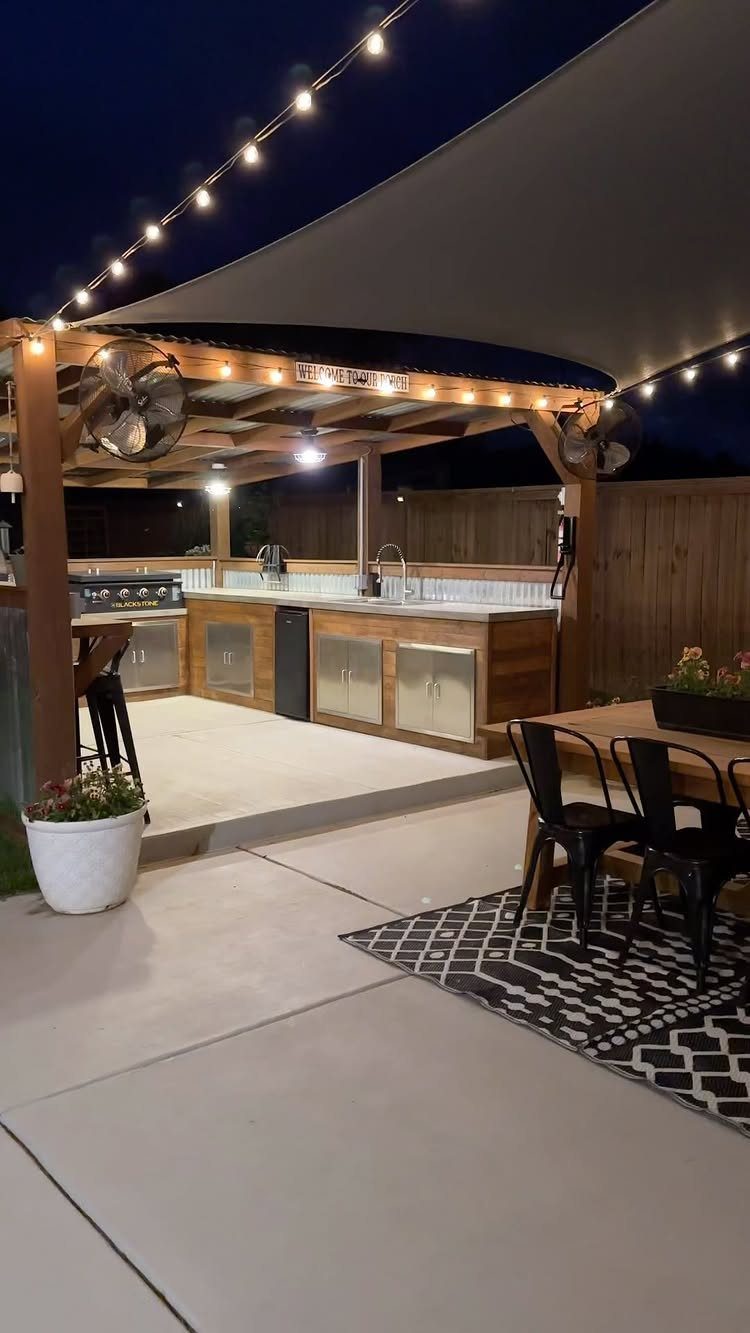
A DIY station lets you build around the gear you already own.
The Blackstone griddle and sink in this covered setup sit in a wood frame with metal door fronts; the metal handles moisture better than painted wood in a roofed space.
String lights overhead run on outdoor-rated cord, not standard indoor wire. I would plan the cabinet depth around your largest griddle, not the other way around, and leave the back open for ventilation.
8. Add a Smoker
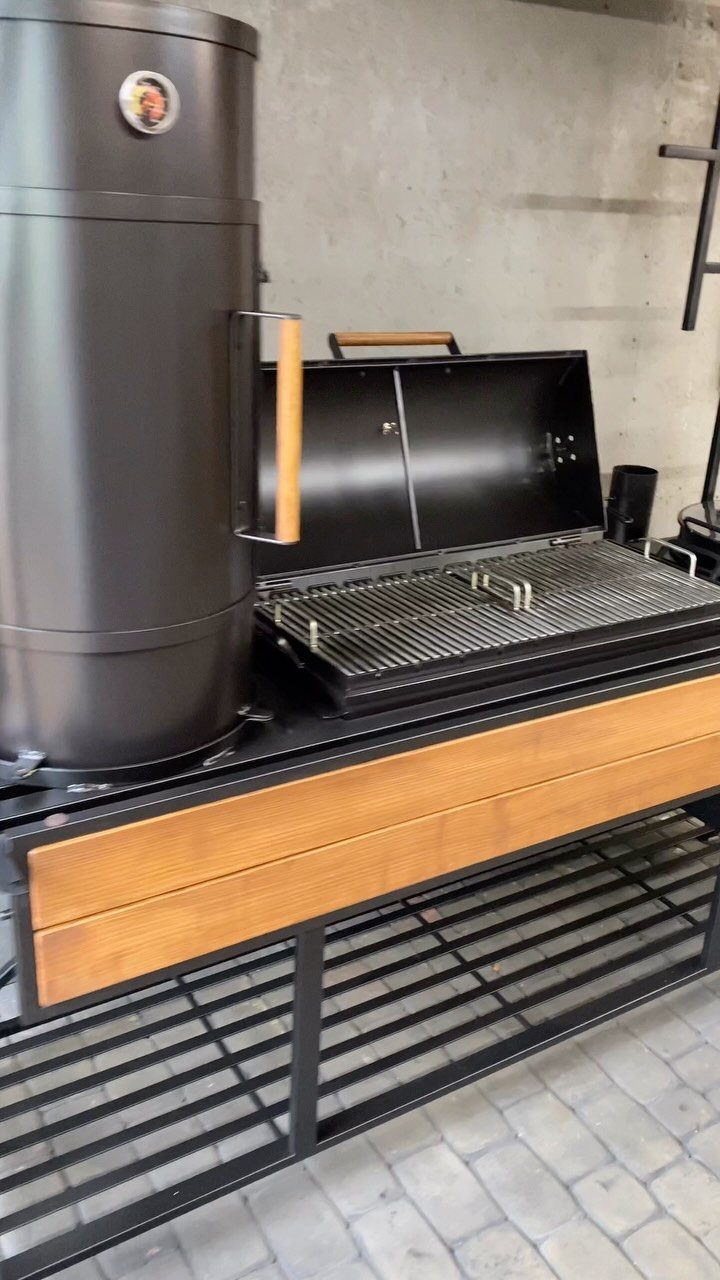
The vertical smoker beside the open grill gives you 2 zones: low and slow on the left, direct heat on the right.
The tall cabinet shape holds heat efficiently for brisket or pork shoulder, while the barrel grill handles burgers and vegetables.
A smoker built into the same counter as the grill keeps the whole cooking zone compact; one footprint does the work of two.
The wood accents on the frame match the smoker body and keep the look unified. Plan your fuel storage nearby; running inside for more charcoal mid-cook gets old fast.
9. Outdoor Grilling Area Seating
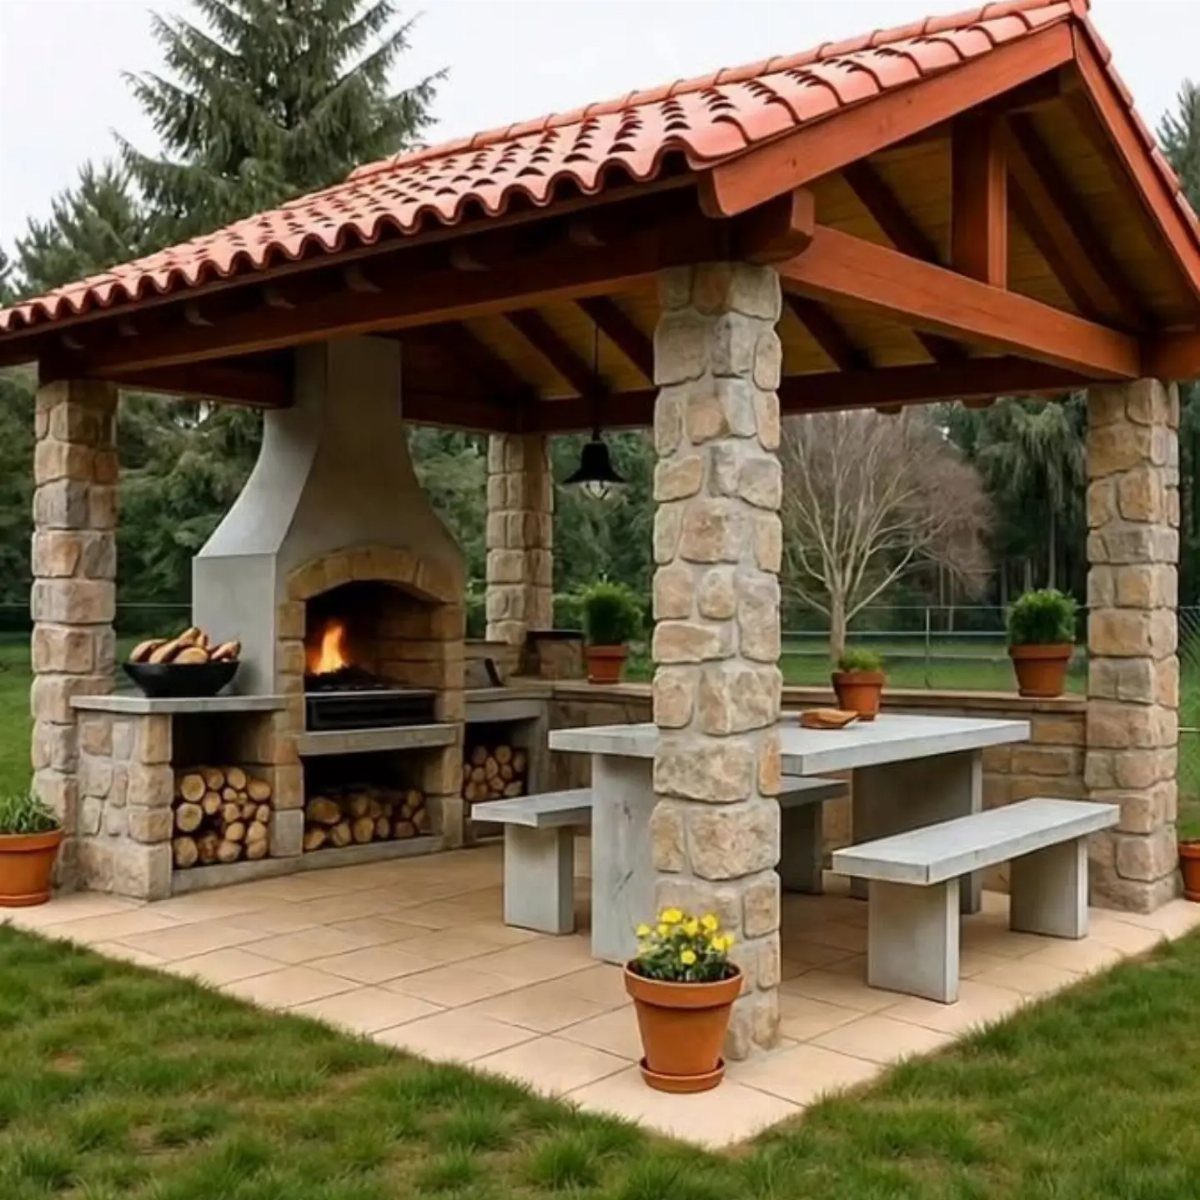
Stone benches flanking a concrete table turn the grill area into a room. The fixed seating suits a permanent pavilion like this one; stone weathers forever but costs more and commits you to the layout.
I would rather have movable chairs on a smaller patio, though the built-in look is hard to match. The overhead roof matters as much as the seats; without it, I would add cushions with storage boxes to keep them dry.
Wood storage built into the grill wall is a detail I would copy; it keeps fuel close and looks intentional.
10. Add a Rotisserie
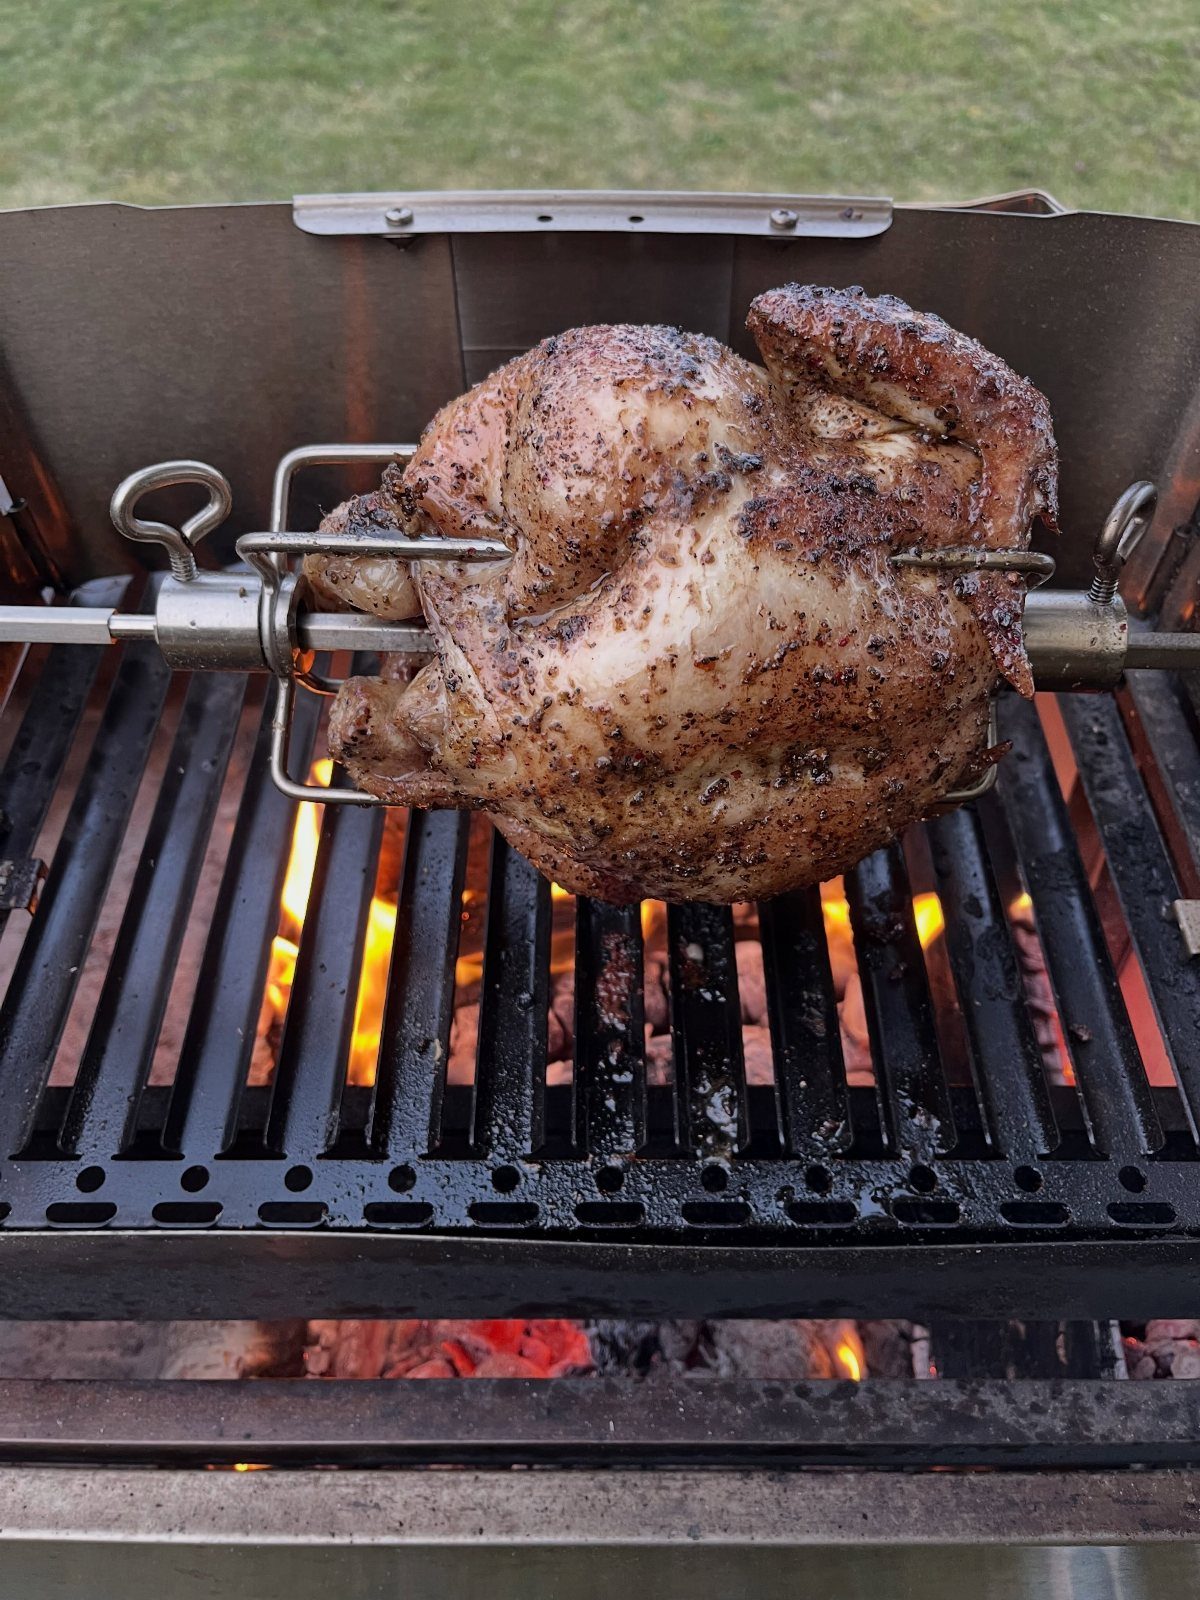
A rotisserie spit turns a standard kettle grill into a tool for whole birds and roasts without buying a separate appliance.
The motor mounts to the lid hinge on most 22-inch models; check your grill’s bracket spacing before you order. I find a chicken every weekend is enough to justify the attachment, which costs less than a single dinner out.
Truss the bird tightly or the wings and legs flop and cook unevenly. A drip pan below catches fat and prevents the flare-ups that smoke the meat bitter.
11. Use a Pergola
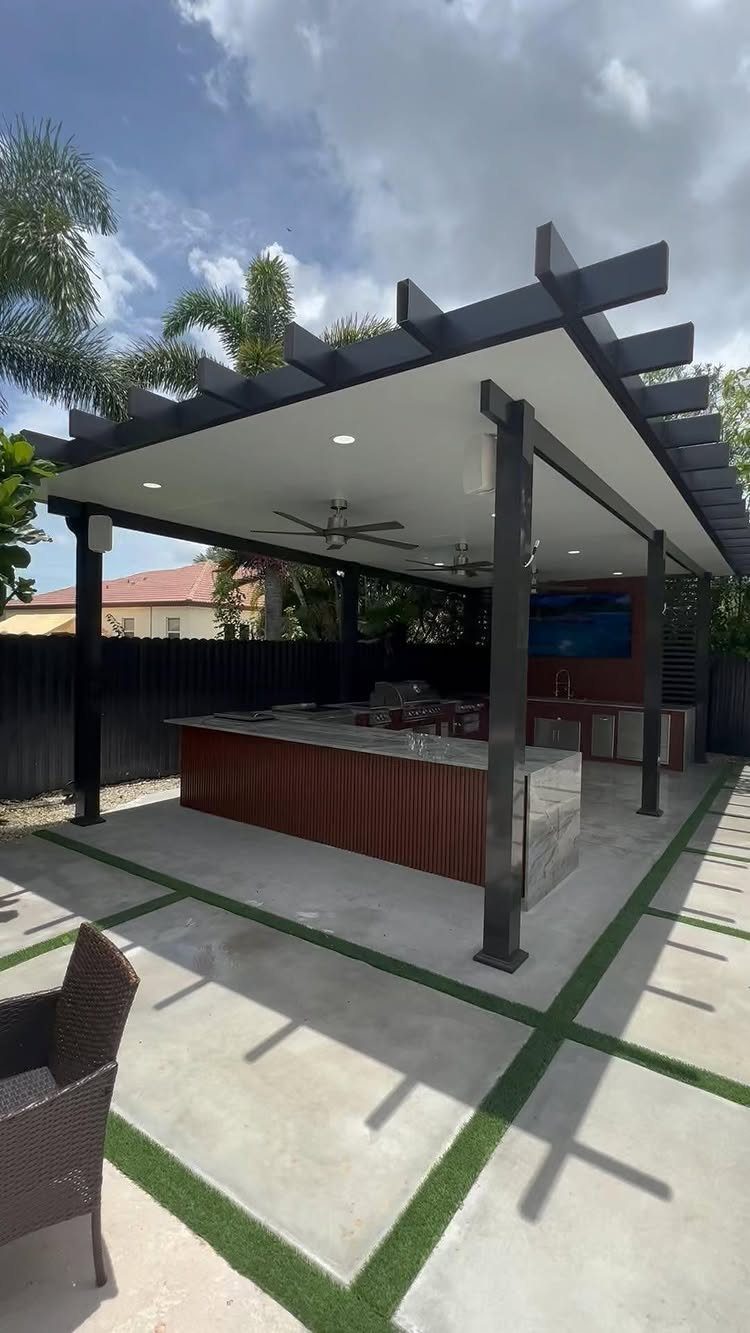
A pergola with a solid ceiling and fans beats an open-slat roof for grilling; the slats let rain through, and a solid roof keeps the fans useful instead of letting the smoke escape.
The black frame and marble-look counters here read modern, but the structure works with any style. Ceiling fans need outdoor-rated motors and mounting boxes; a standard indoor fan will fail in the first humid summer.
I would size the pergola to shade the grill plus prep space, not just the grill itself. The concrete pavers run cooler than stone underfoot, which matters when you are working the station for an hour.
12. Install a Brick Surround
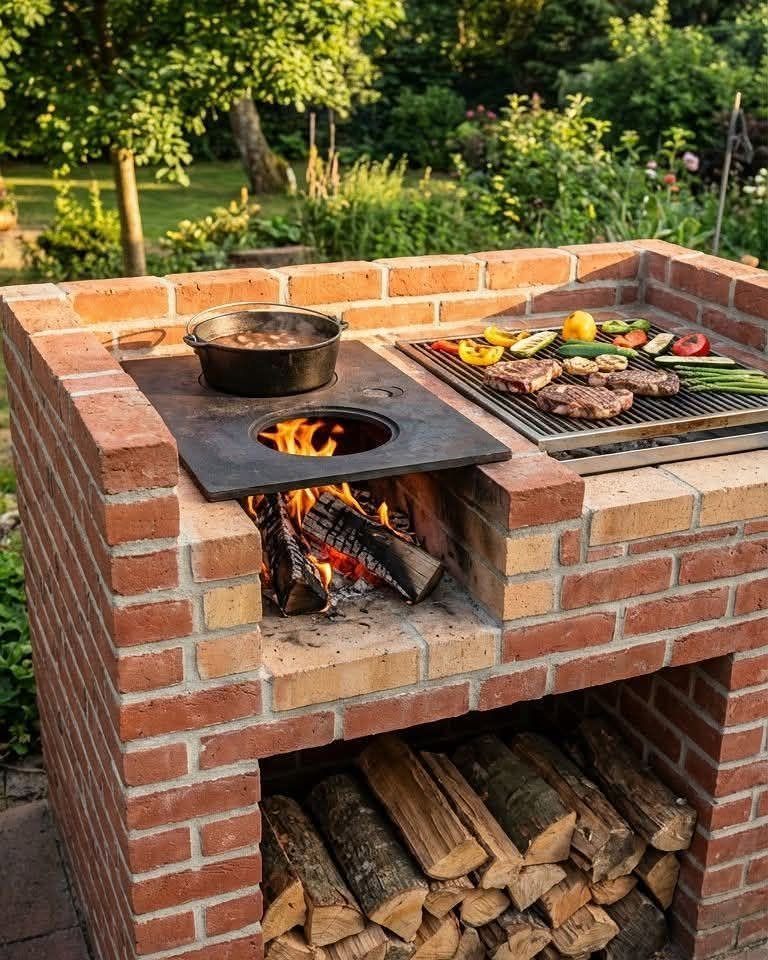
Brick around a wood-fired cooktop gives you mass that holds heat and a look that settles into a garden.
The red brick here is laid standard running bond; no special pattern needed, though you will want firebrick at the firebox itself. A wood storage bay below the grate keeps fuel dry and close.
I would add a metal grilling grate at two heights, not one; the lower slot sears, the higher one lets you tend the fire without lifting food off entirely.
This setup demands tending; the fire dies fast if you step away.
13. Create a Freestanding Grill Station
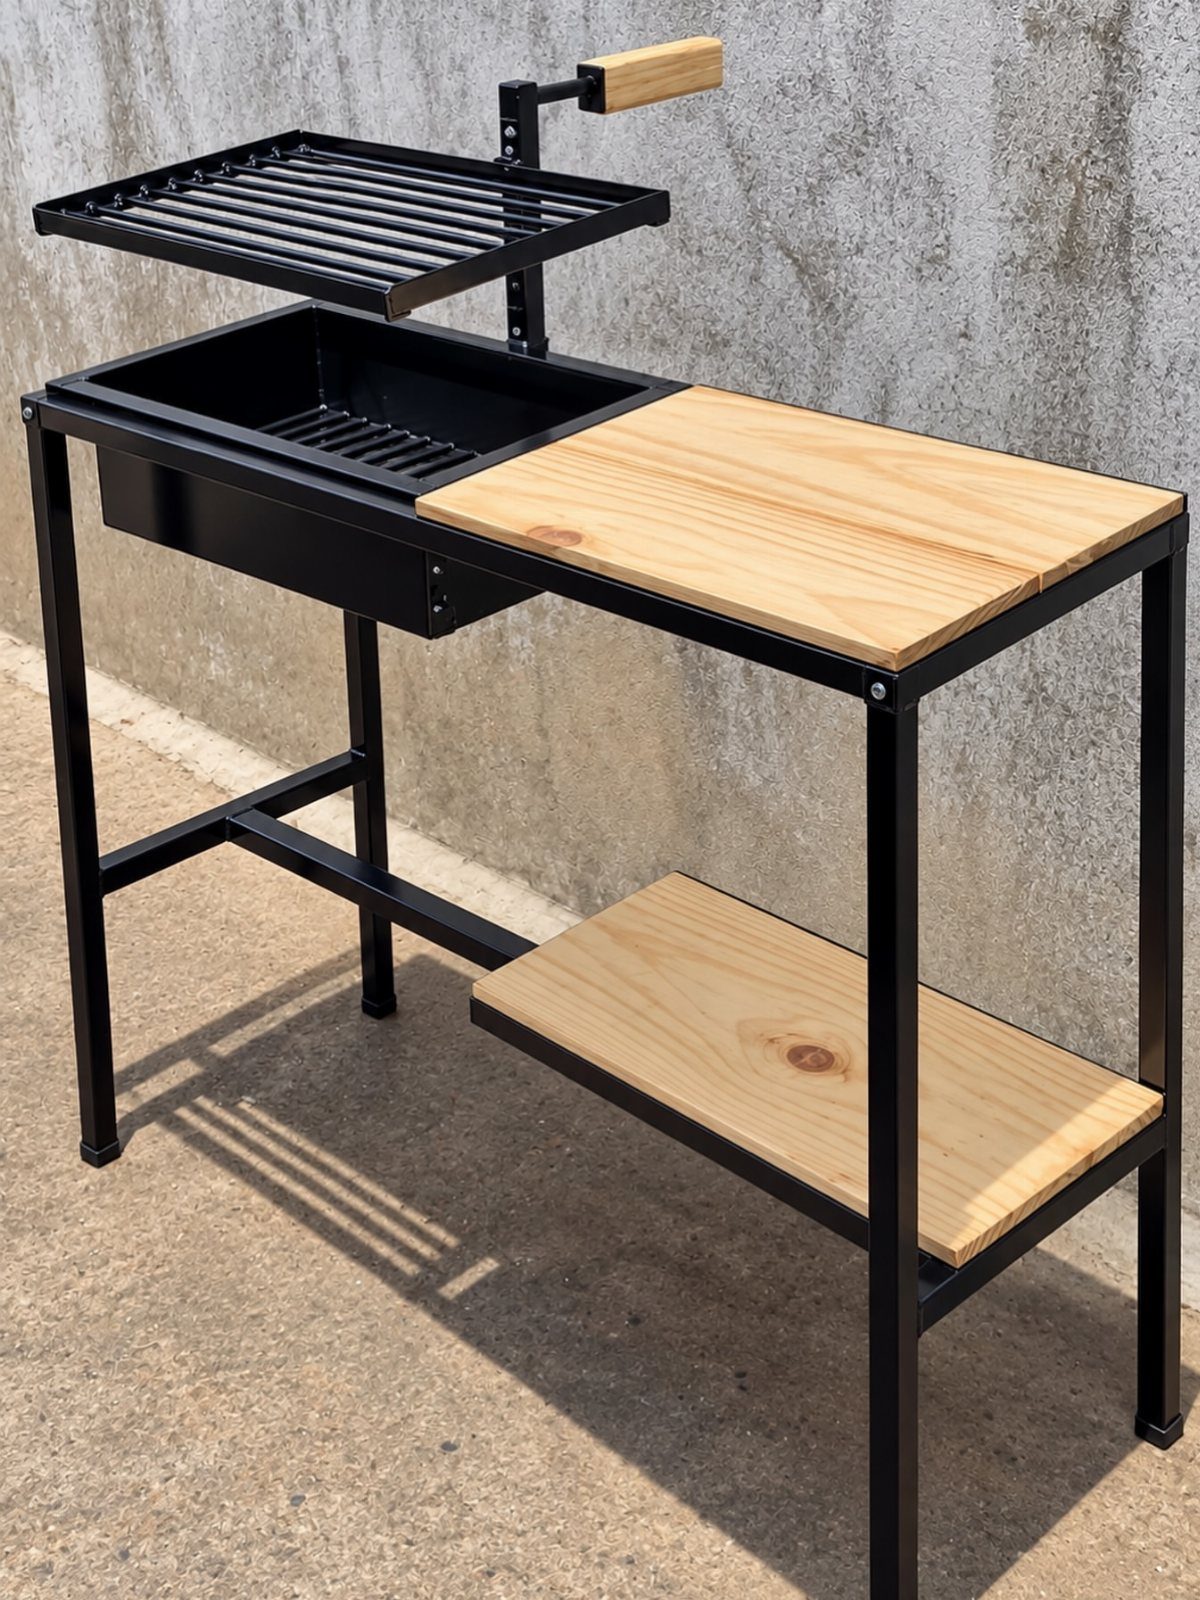
A freestanding station moves where you need it and leaves when you do not. The black metal frame with light wood surfaces in this one sits against a wall today and could face the lawn tomorrow.
The adjustable grate height matters more than the frame material; it lets you sear close or slow-cook raised, same as built-ins that cost far more. I would add locking feet if the patio slopes even slightly.
No plumbing to run, no permit to pull. For renters or anyone who rearranges the yard yearly, this is the setup that respects your indecision.
One of the most important things to consider when planning an outdoor grilling station is where to put it so it works best for your lifestyle, says Russ Faulk, Chief Designer and Head of Product at Kalamazoo, a luxury outdoor kitchen provider.
14. Add Outdoor Refrigerator
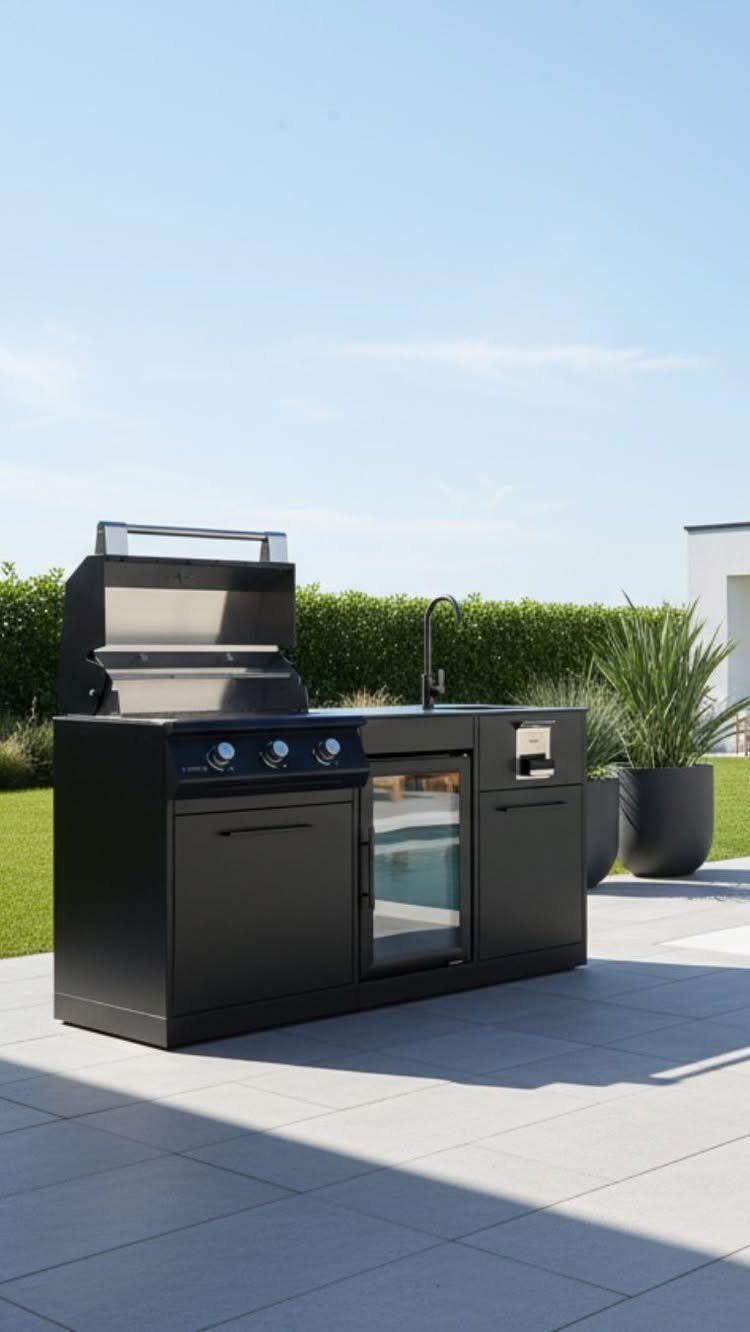
A small refrigerator at the grill station keeps meat cold until the last minute and holds drinks the whole afternoon.
The glass door in this black island unit lets you see stock without opening; every blast of warm air costs efficiency.
Outdoor-rated compressors handle humidity and temperature swings that kill indoor mini-fridges in a season. I would size for what I actually store, not the maximum; a too-large unit cycles on and off too often and wears faster.
The tiled patio underneath drains well, which matters more than it looks, condensation and spills need somewhere to go.
15. Add Lighting
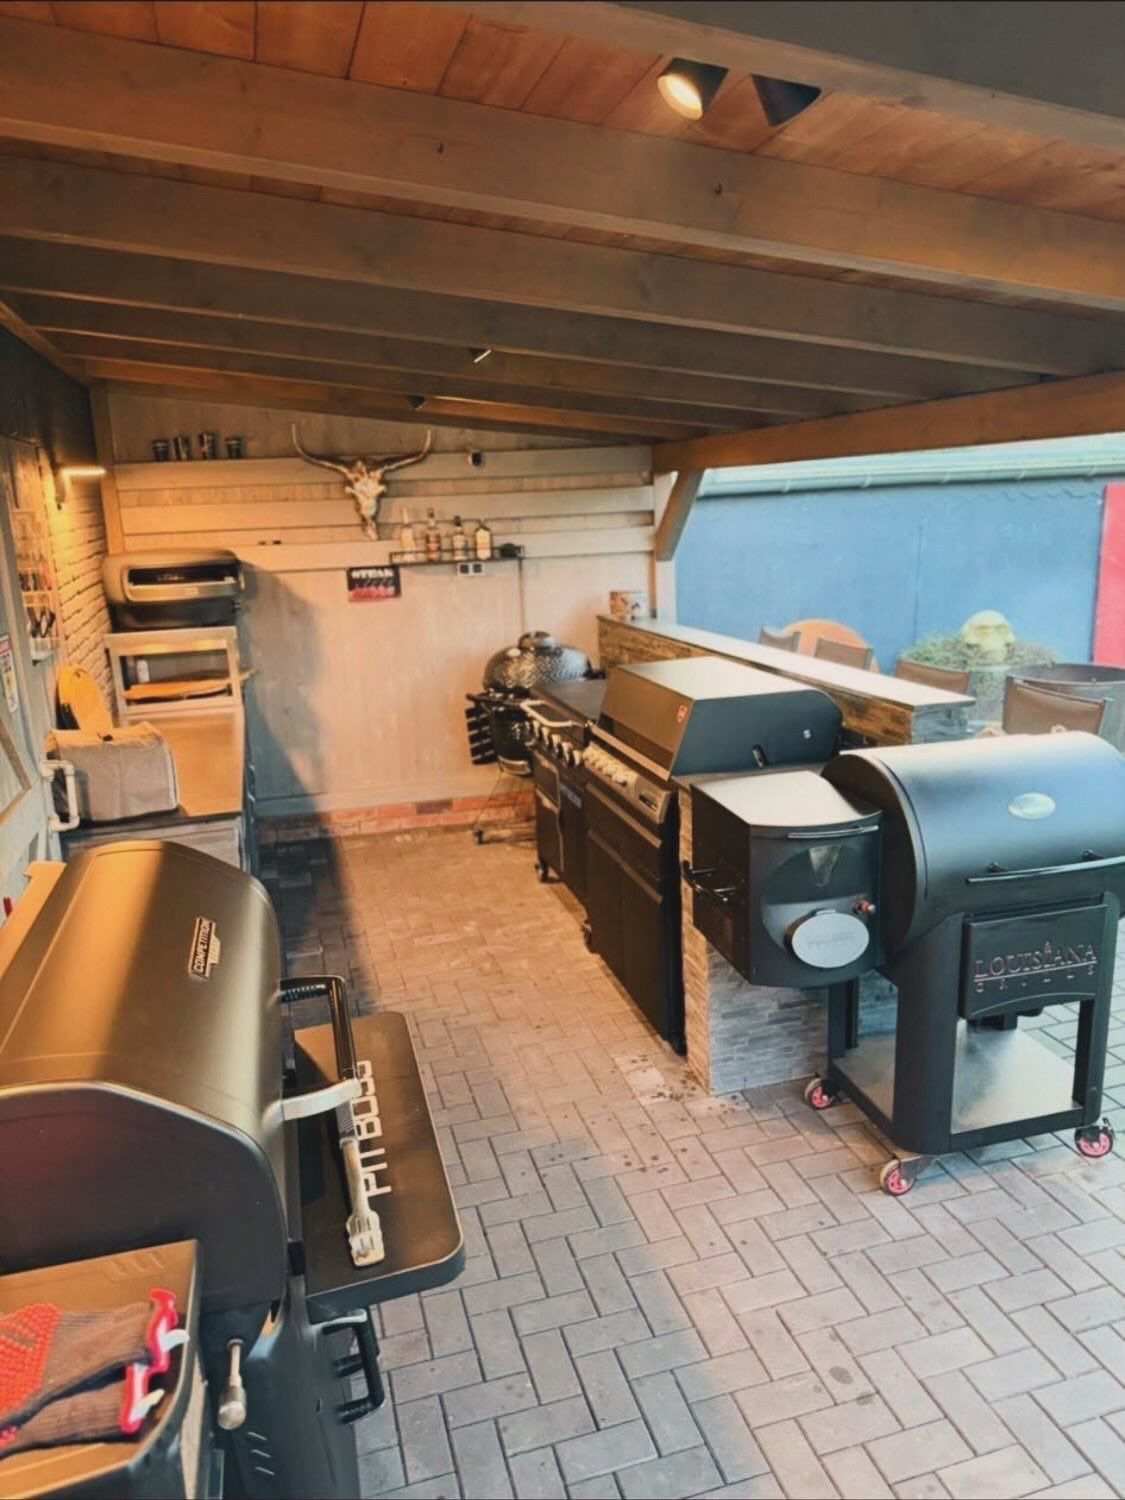
Ceiling spots and a wall lamp turn a covered patio into a kitchen you can use past sunset.
The fixtures in this brick-floored setup are mounted high enough to stay clear of smoke and grease; lower placement would mean monthly cleaning at best. A dimmer switch handles both jobs: bright for prep, low for eating.
The wood ceiling here takes standard junction boxes, but a metal roof needs specialized mounts and gaskets. LED bulbs last years in outdoor humidity and draw little enough to run on the same circuit as the grill.
Choosing the Right Grill
I start every recommendation with how the cook actually works, because the fuel choice shapes everything after it. Gas wins for weeknight speed; turn a knob and the grate is hot before charcoal would even be ready.
Charcoal demands patience before food hits the grate, but the higher dry heat sears better and the smoke matters if you are cooking with wood chunks.
Pellet grills automate temperature and add smoke flavor, though the electronic parts mean another thing to service and they rarely hit the searing heat a gas or charcoal rig manages for steak.
A 22-inch kettle is the size I suggest for most households; it holds a whole turkey or a pair of pork shoulders without crowding. Anything smaller and you are cooking in shifts.
Anything larger sits empty most nights and burns fuel unevenly when half-loaded. Match the grill width to your typical crowd, not your largest party.
Planning for the Elements
Solar orientation decides whether you are squinting into smoke at 6 pm or working in shade. I face my grill with the cook standing north or east of the fire; the afternoon sun falls behind me, not into my eyes.
In hot climates, that same afternoon sun turns a metal grill surface into a burn hazard, so I add a pergola or place the station where a house wall blocks late-day light.
Rain and wind are the harder pair to solve together. A solid roof stops rain but traps smoke unless the ceiling rises high enough or you add a vent hood; that tradeoff is covered in the list for roofed stations.
Pergolas with slatted tops fail at both jobs, so I skip them for cooking zones. A solid ceiling with a ceiling fan, outdoor-rated, moves enough air to keep smoke from layering while still shedding weather.
Storage Solutions
I organize storage by how often I reach for the item. Tools used every session, tongs, spatula, brush, thermometer, live in a drawer at counter height, slid open with one hand while the other holds a platter.
Fuel stays lower and out of sight; propane tanks vent and charcoal sheds dust, neither belongs where food moves.
Hooks beat drawers for bulky items. A grill cover hung on a peg dries faster and takes no shelf space.
The same for aprons and chimney starters. Cleaning supplies stay separate from food-contact tools; a grease brush and a grill scraper are not the same category in my mind.
For built-in islands, I spec drawers over doors whenever the budget allows.
A drawer rolled out puts everything in view; a cabinet door means kneeling and reaching past the first row to find the back. If the island is narrow, a shallow pull-out spice shelf adds flavor options without stealing prep width.