These ideas run from a coat of paint on a tired chair to a pallet island you bolt together yourself, so the deciding factor is what your kitchen actually asks for: raw storage, enclosed cabinets, or something that rolls where you need it.
The proof that this list belongs here is shellac-based primer blocking tannins from bleeding through a painted sideboard; that specific step only matters if you are working with old wood, not buying new.
1. Repurposed Cabinets Into Benches
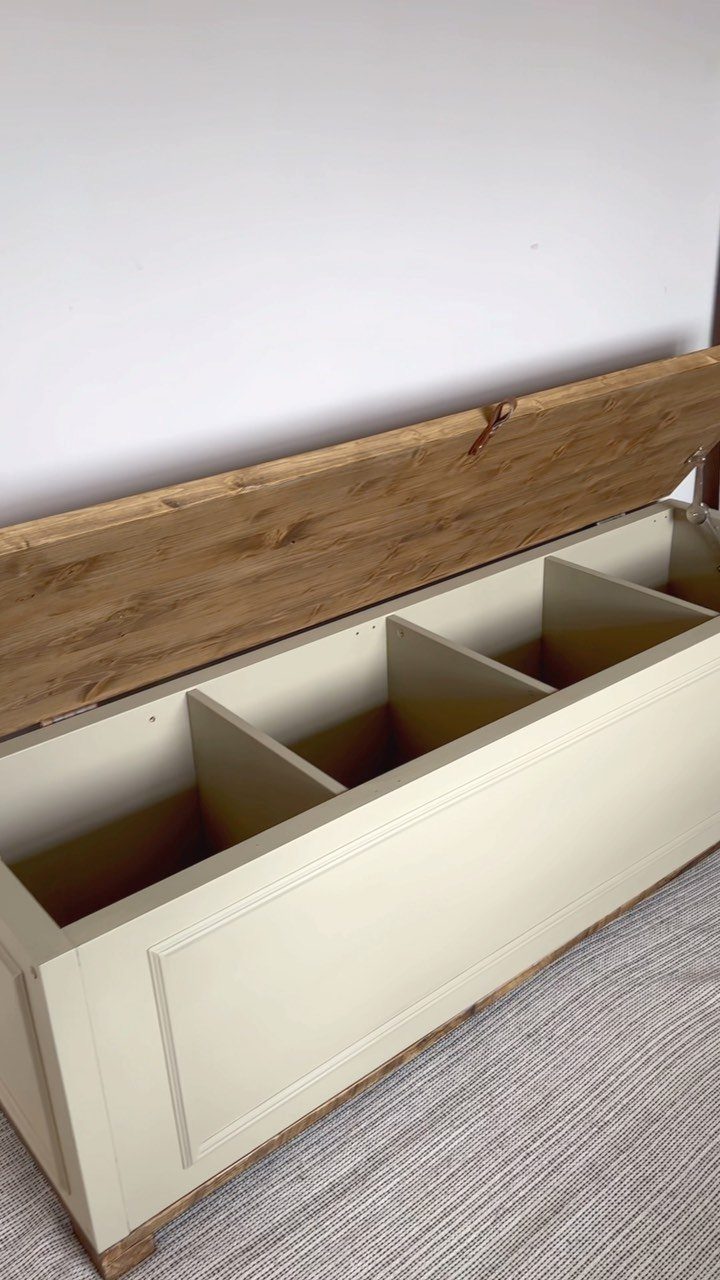
An old base cabinet with its doors removed becomes a bench with built-in cubbies for baskets or bins.
I like this for renters and anyone in a small entry off the kitchen, since it stores shoes, bags, and pet gear where you already pass through.
Paint the exterior to match your trim and hinge a solid wood top for the seat. The compartments stay open; add labels if you share the space.
Cost stays low if you salvage the cabinet from a remodel or habitat store. I would go with a darker interior paint to hide scuffs over time.
2. Upcycled Tins and Jars
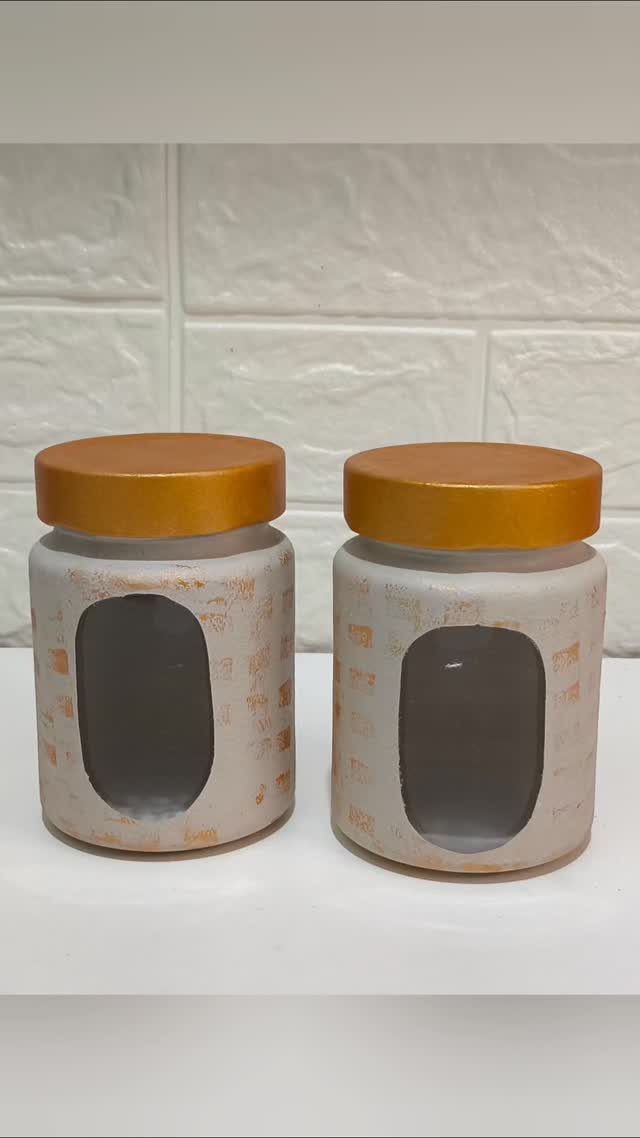
Cleaned jam jars and biscuit tins with fresh lids give you see-through pantry storage without buying matching sets.
The glass lets you spot contents fast, and a coat of paint on the outside or a glued paper label keeps it neat.
I reach for these when I need small amounts of spices, seeds, or dried peppers close at hand.
A painted lid with a brass rim, the kind you find at any hardware store, turns any jar into a canister for a couple of dollars in parts.
Best for dry goods only; humidity warps the paper and rusts cheap lids.
3. Painted Furniture
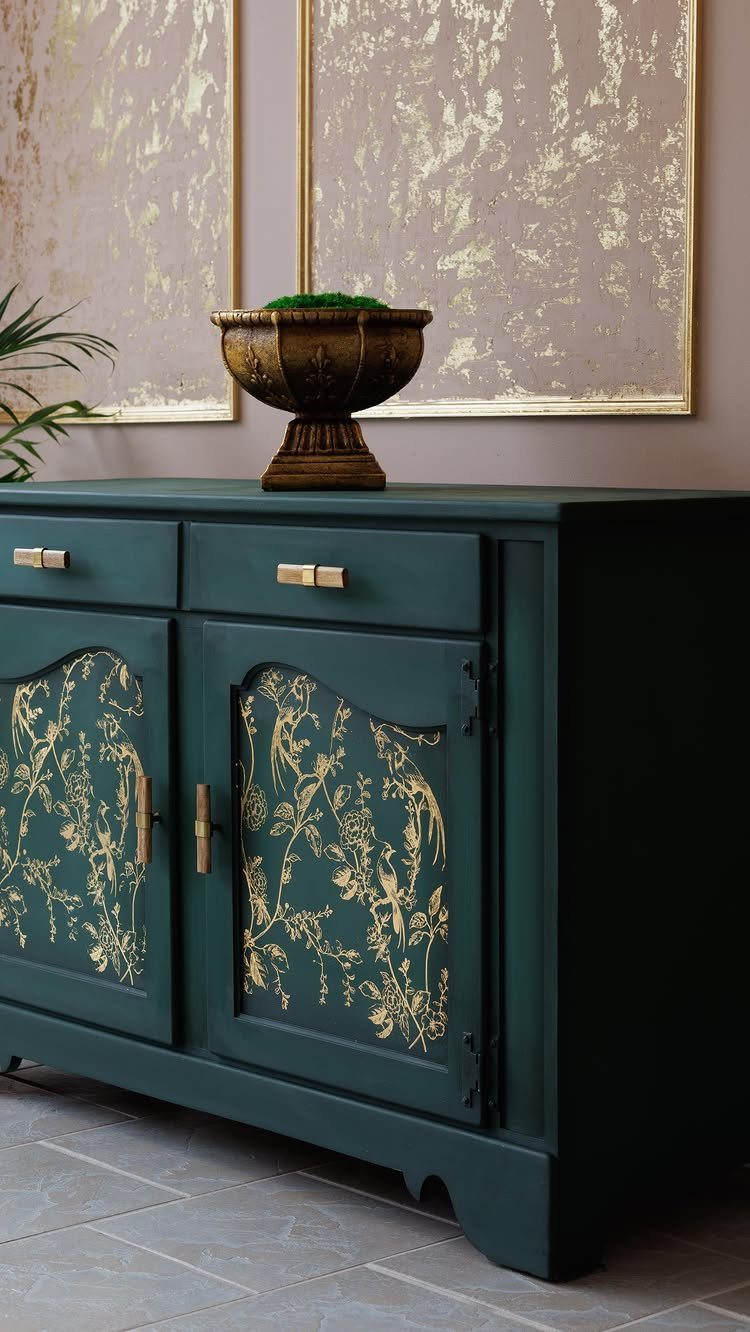
A worn sideboard or cabinet with good bones revives fast with paint and a detail brush for the panels.
Dark green with gold florals and birds is one way to go; I would choose a single bold color and skip the hand-painting unless you already enjoy it.
Sand to scuff the old finish, prime with shellac-based primer to block tannins from bleeding through, then 2 coats of enamel in your chosen shade.
Brass or wooden pulls finish it. Trade-off: painted surfaces chip at handles and edges, so this suits a kitchen that sees gentle use, not a house full of kids grabbing snacks.
4. Industrial Cart Island
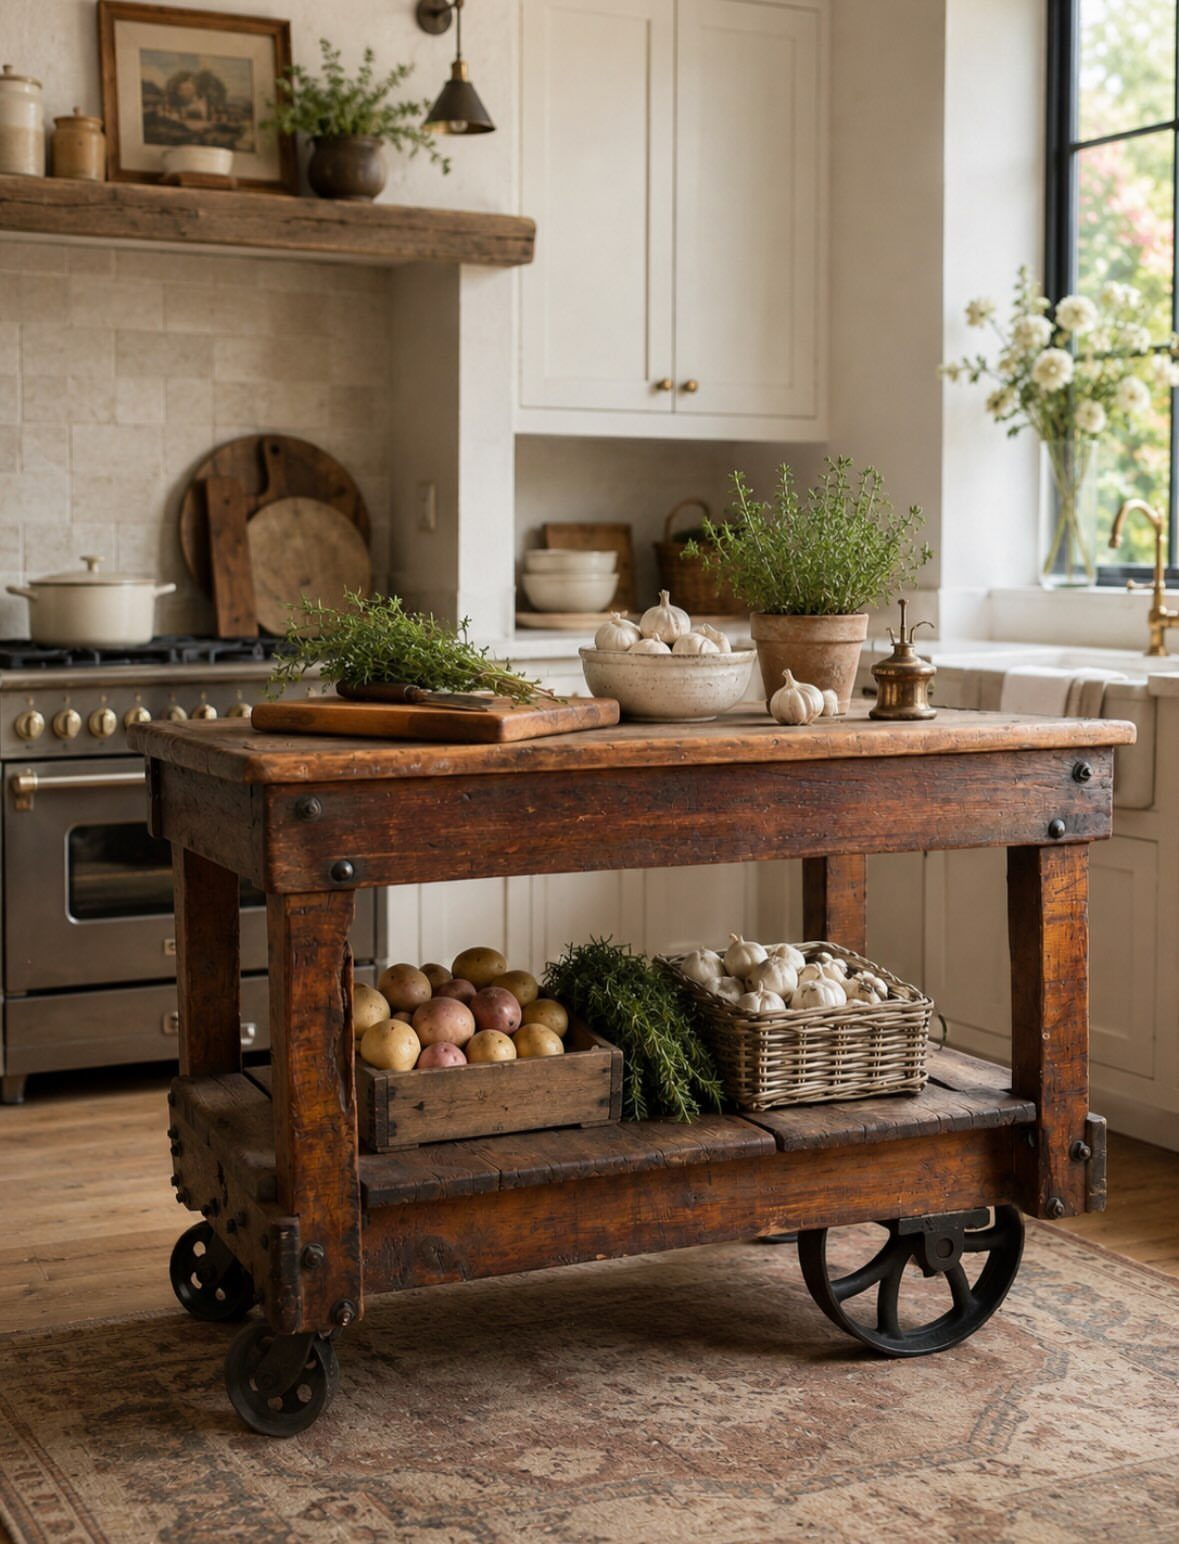
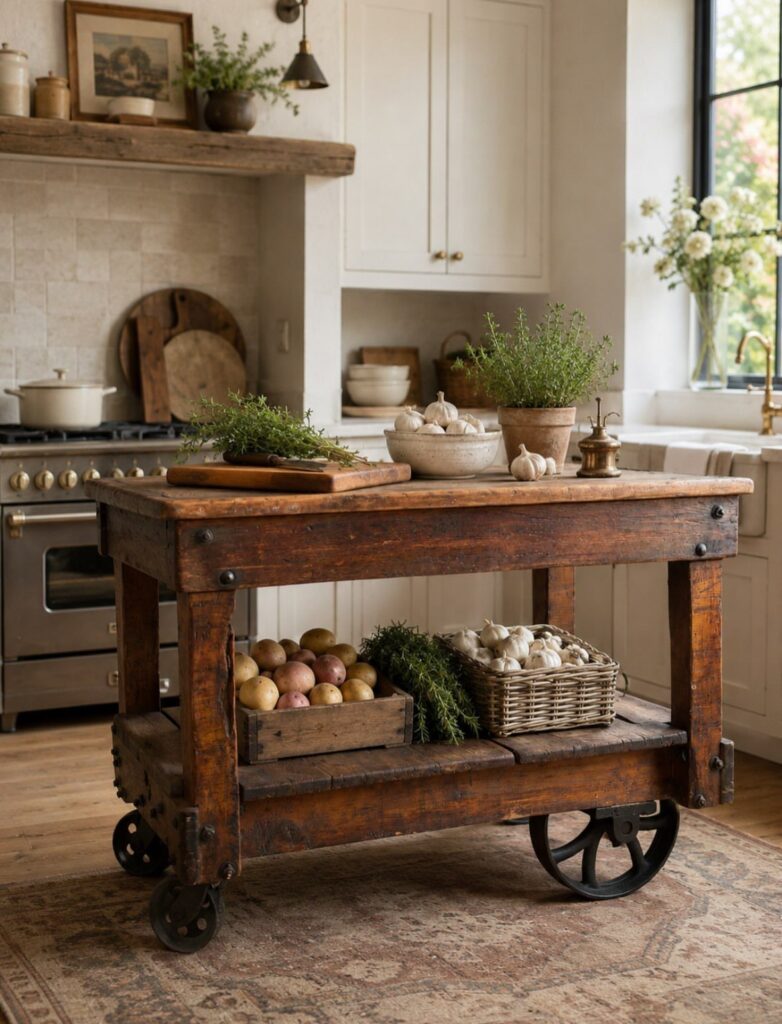
A vintage factory cart with iron wheels and a thick plank top rolls in as a mobile island where floor space is tight.
The iron wheels mark floors; I would add rubber treads or keep it on a rug or mat.
Load the lower shelf with crates of potatoes, onions, and garlic, where air circulates and you see your stock at a glance. The top holds a cutting board and a few bowls for prep.
Weight matters: these carts run heavy empty, so check your floor load if you live above grade. Best for cooks who want raw storage and do not need enclosed cabinets.
5. Custom Drinks Trolley
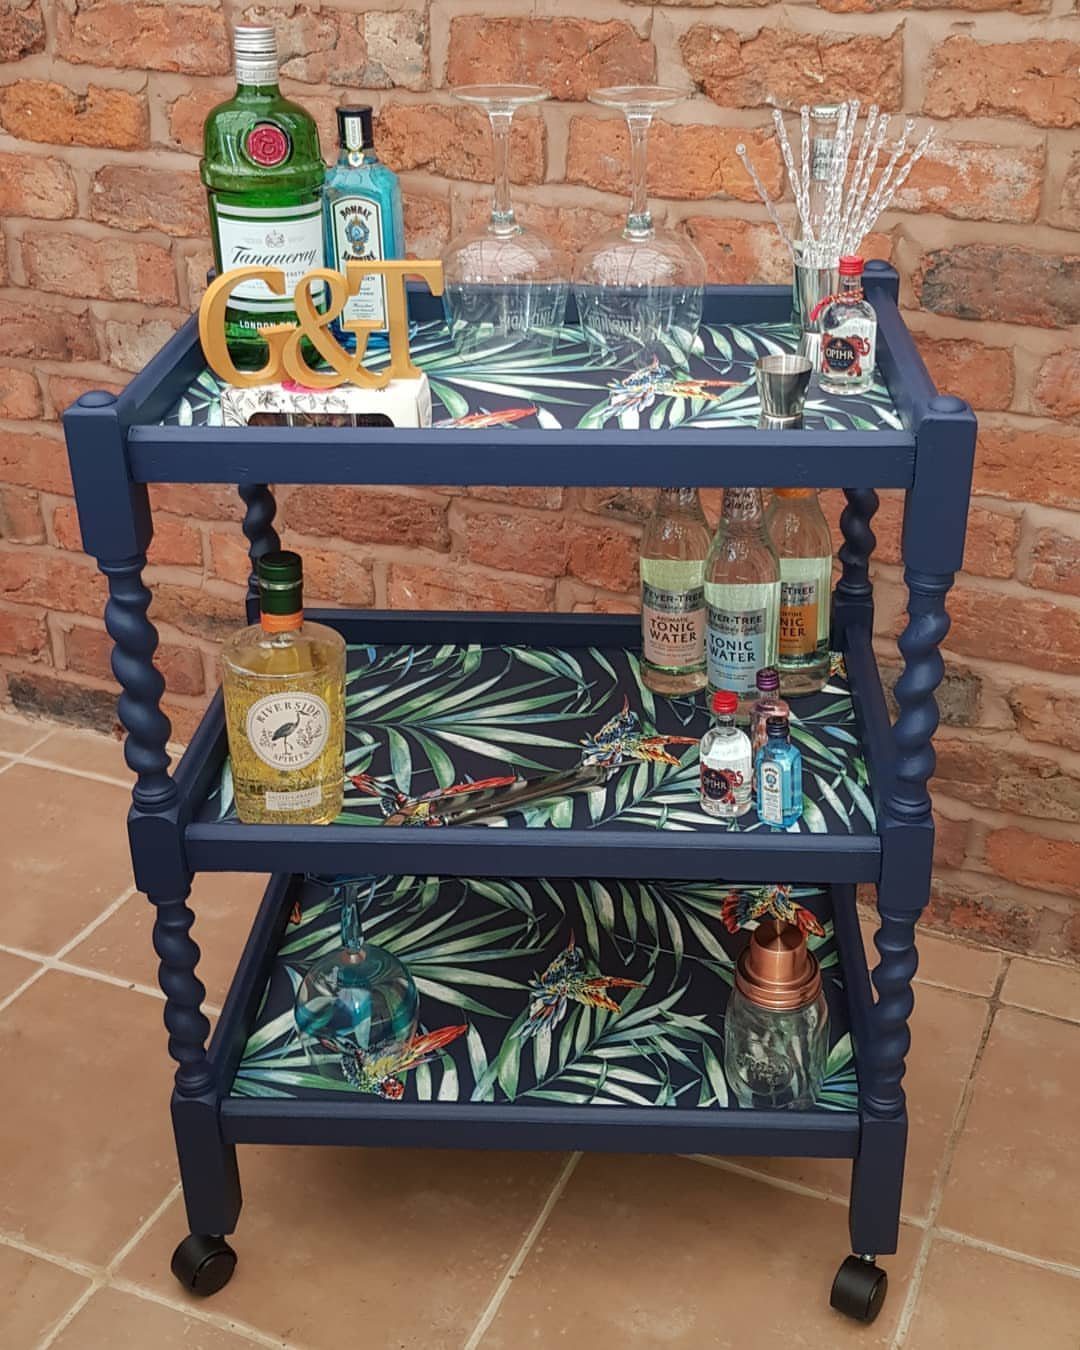
A rolling three-tier cart, painted and lined, becomes a drinks station that moves where the party goes.
Tropical paper on the shelves looks sharp, but I would seal that paper with clear acrylic so spilled tonic does not lift it. Stock the top with bottles, middle with glassware, bottom with ice bucket and backup mixers.
Casters let you roll it to the porch or the dining corner. Trade-off: open shelves show clutter, so this suits someone who enjoys curating the display.
6. Pallet Kitchen Island
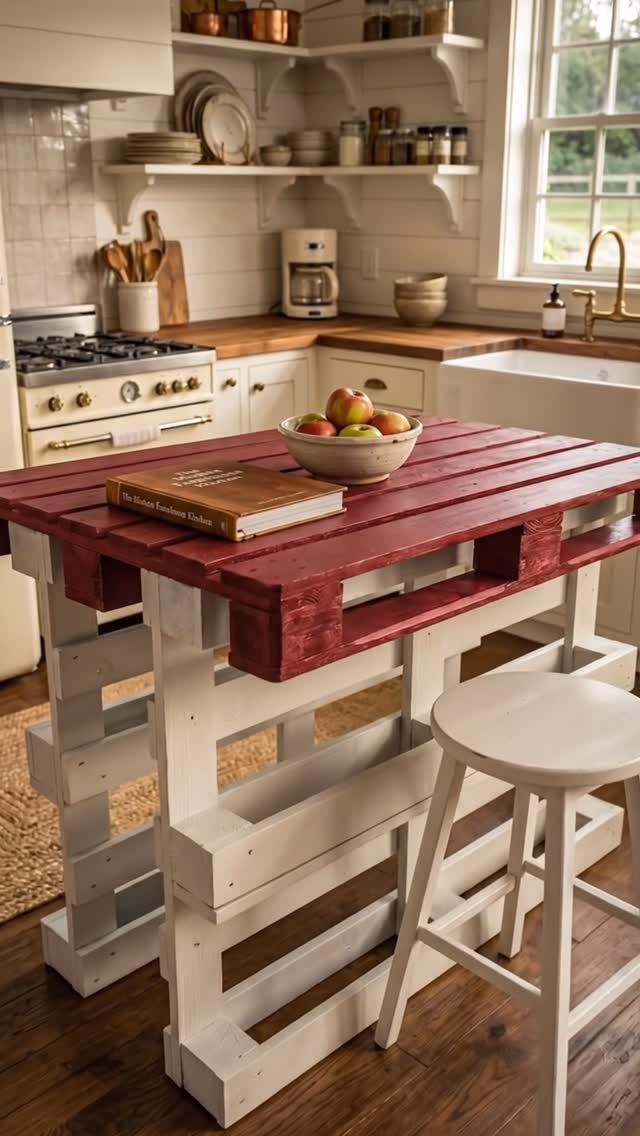
Stacked pallets, painted and topped with a second pallet or a solid board, make a kitchen island for nearly the cost of the paint alone.
A single pallet height for the base and a contrasting top keeps the profile low; I would add locking casters underneath so you can sweep and reposition.
Sand every surface to splinter-free, especially the slats you will lean against or set dishes on. Best for a first project: mistakes are cheap, and the rustic look forgives them.
7. Pallet Open Shelving Unit
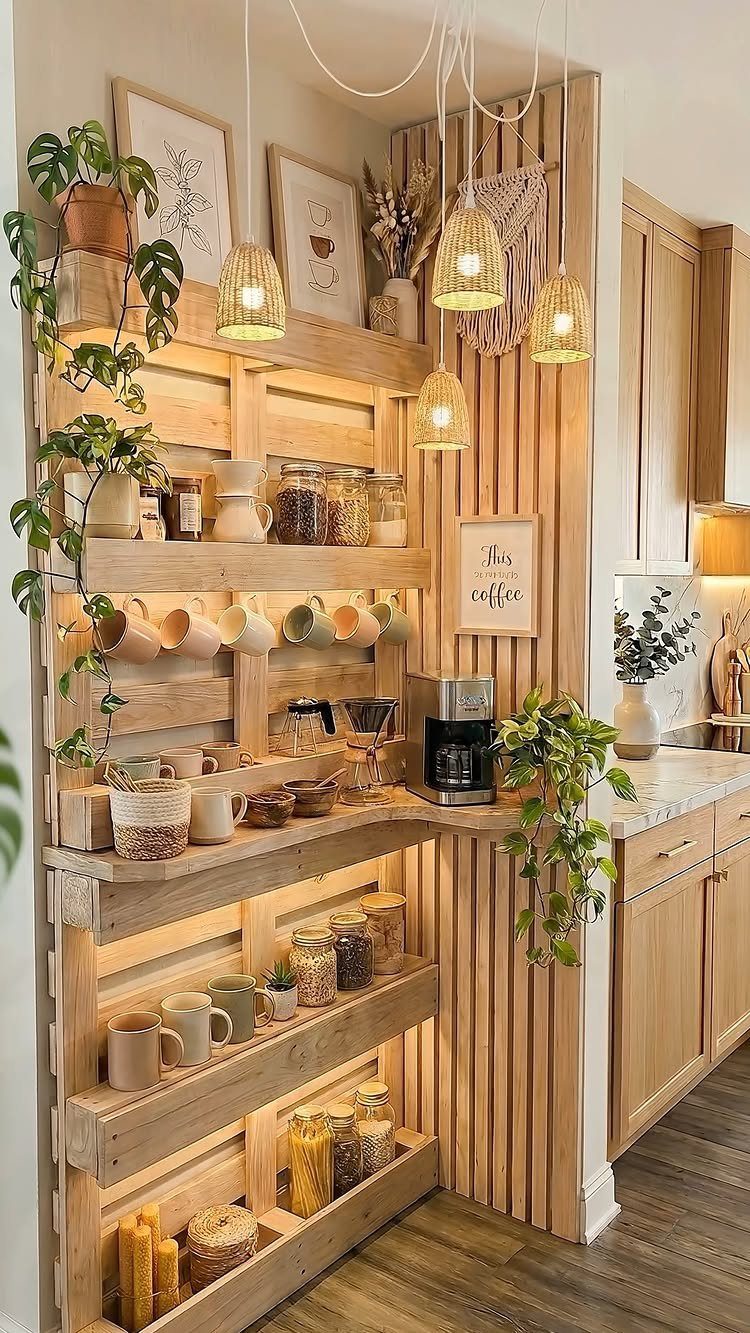
Pallet slats, stripped and stacked vertically or horizontally, frame open shelves that fit a coffee corner or any narrow wall in a small kitchen.
I would keep the natural grain visible with a clear matte seal rather than paint, since the texture is the point. Sand to catch splinters without losing the rough character; I stop before the surface goes smooth.
Wall-mount with heavy-duty brackets into studs; pallets are lighter than they look but loaded with ceramics they need real support. Best for renters who can patch screw holes later, or anyone who wants storage without the bulk of closed cabinets.
8. Repurposed Sideboard Kitchen Island
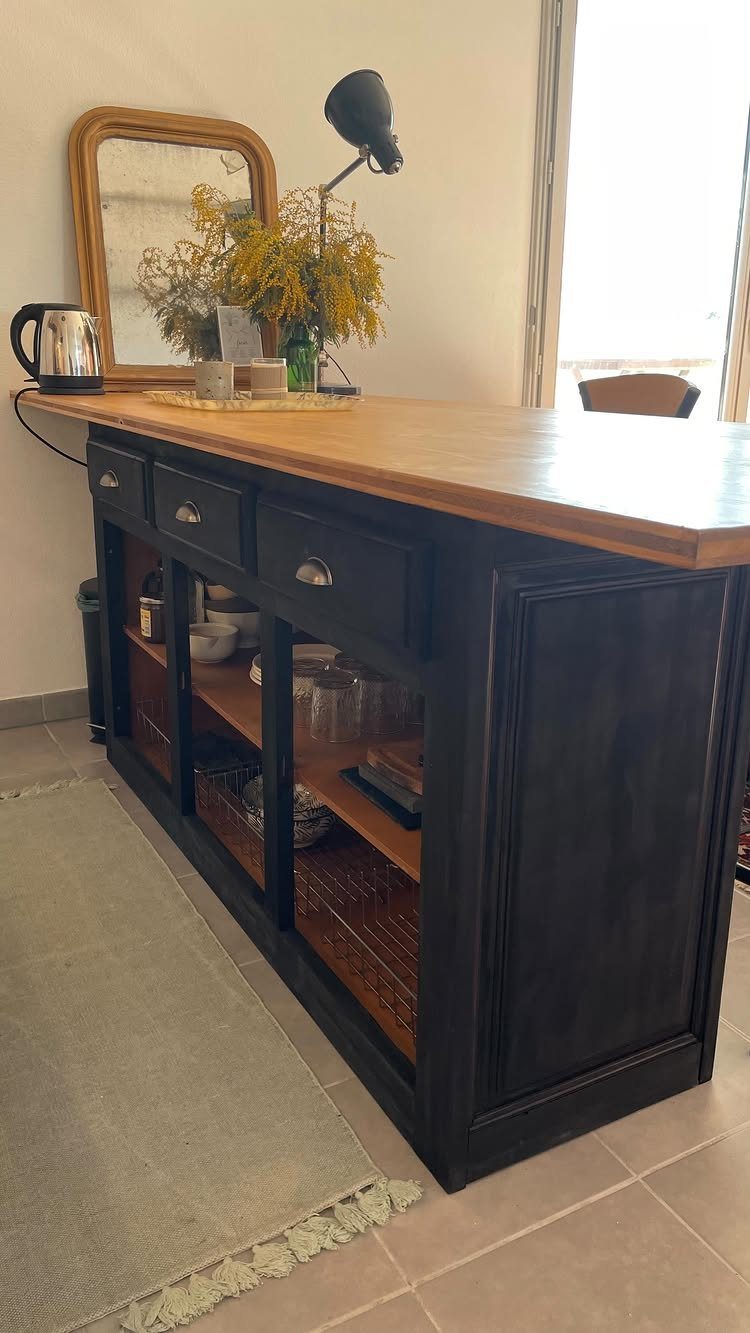
A sideboard with its top swapped for butcher block gains a work surface and keeps the drawers and glass cabinets below for dishes and dry goods.
The mirror backing visible in the upper cabinet bounces light back into a dim kitchen; I would leave it unless it reads too formal for your space.
Check that the carcase is solid hardwood or old plywood, not particleboard that swells at the first spill.
The height often runs low for standing prep, so add casters or a thick top to raise it to counter height. Trade-off: glass fronts demand neat stacking, so this suits the organized cook.
Sustainability Benefits
Wood furniture made up the single largest share. Upcycling a piece you already own or salvage keeps that material in use and cuts the demand for new production.
I see this as a practical swap, not a sacrifice: the bench, cart, or island you build replaces something you would otherwise buy new, with the manufacturing and shipping that goes into it.
Whitney Frances Falk of ZZ Driggs puts it plainly; it is doing your part without giving up function or looks.
The feel-good part is real, but the main benefit is the tonnage that never reaches the landfill in the first place.
According to the Environmental Protection Agency, as of 2018, there was about 12 million tons of furniture and furnishings waste generated, with roughly 9 million making it to the landfill. Old furniture made of wood was the largest waste material generated in the category.
Budget-friendly Options
New cabinets hit hard between purchase price and install labor.
Upcycling skips both. The Architectural Digest figures on furniture waste also mean salvage is easy to source; kitchens turnover constantly, and old wood pieces are what people throw out most.
I would budget for paint, primer, hardware, and casters before anything else. Those are your real costs.
The trade-off is time: you sand, you prime, you seal. For a household running a garden on a tight yearly budget, that time is a fair exchange for a one-of-a-kind piece that did not come from a catalog.
Creative Personalization
Paint color is the obvious personal mark, but I would look at hardware first.
Pulls and casters come in brass, iron, wood, rubber-treaded; each one changes how the piece reads and how it lives with you. A paper-lined drinks cart shelf, sealed with clear acrylic, is not something you will find at IKEA.
The pallet shelving I would leave raw with matte seal, but that is my preference; paint them and the same slats read entirely different. Upcycling means you are not choosing from a preset range of finishes.
You pick the paint, the paper, the stain, or none at all. The piece ends up specific to your kitchen because you made the choices, not because you hunted for something unique in a store.
Frequently Asked Questions
What are some creative ideas for upcycling old furniture?
Base cabinets become benches with built-in cubbies when you remove the doors and hinge a wood top over the openings.
Iron-wheeled factory carts with plank tops already showed up as mobile islands, so I’ll skip repeating that. Sideboards keep their bones, swap in butcher block up top, and the original drawers and glass cabinets stay put below for storage.
Each one starts with salvage or a piece you already own, so your only real costs are paint, hardware, and the time to sand and finish.
What are some budget-friendly DIY ideas for a kitchen?
A single pallet forms the base, topped with a contrasting board for a low-profile island; your only real cost is paint and maybe a few screws.
I would put money first toward paint, primer, hardware, and casters; those are the hard costs, and what you give up is the hours spent sanding, priming, and sealing.