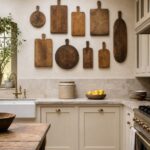
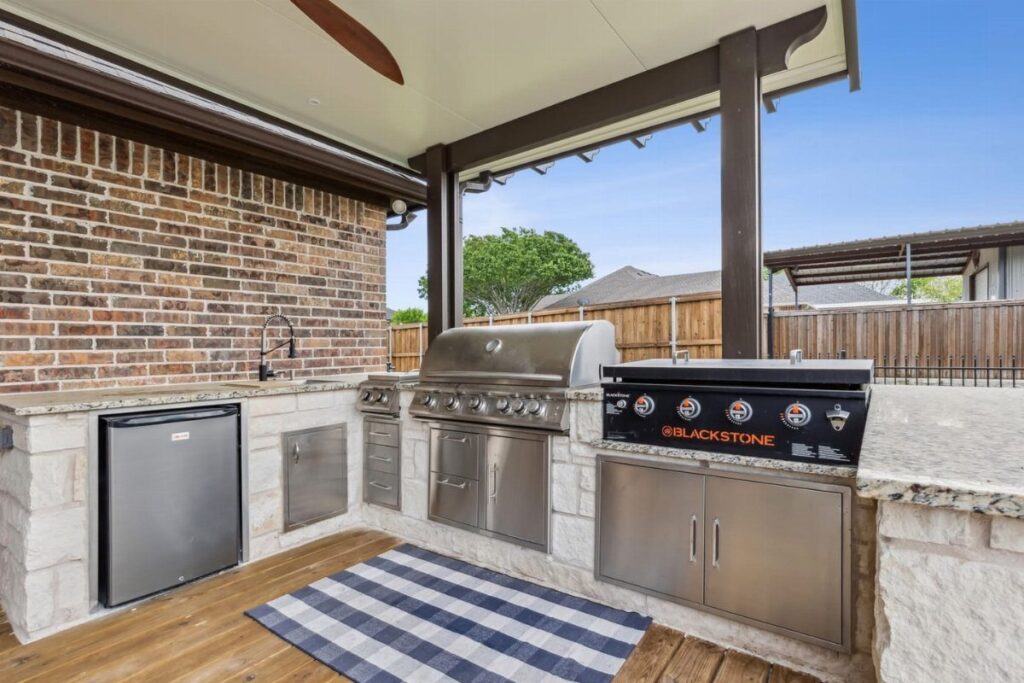
A DIY outdoor kitchen with a Blackstone griddle ranges from a cinder block build to a permanent structure with stone counters and a gas line.
What decides which one belongs to your yard is how often you cook outside and whether you own the space or wheel everything back to a garage.
I would start the decision there, because a wooden cart on locking casters and a built-in island that demands contractor quotes answer two completely different questions, and only one of them is yours.
1. Built-in Blackstone Griddle
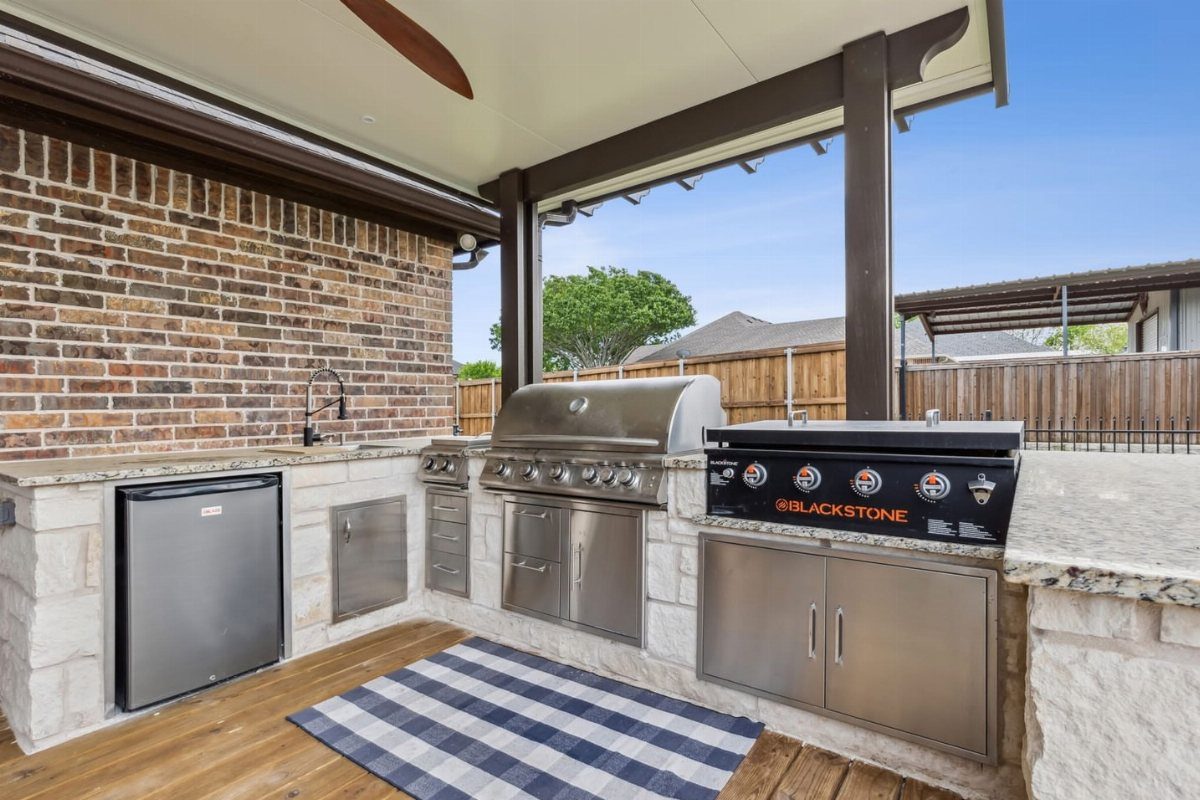
A built-in Blackstone griddle becomes the flat-top workhorse inside a larger outdoor kitchen, set into stone or granite counters with a roof overhead.
I like this setup for anyone cooking outside more than twice a week; the griddle sits at the same height as the rest of the counter, so you are not working at a separate station.
You will need a cutout sized to your griddle model, plus ventilation clearances from the manufacturer and access to a gas line or a spot to hide a propane tank.
Permanence is the real cost: this griddle stays put, so you build the whole kitchen around it.
2. Seasoning the Blackstone Griddle
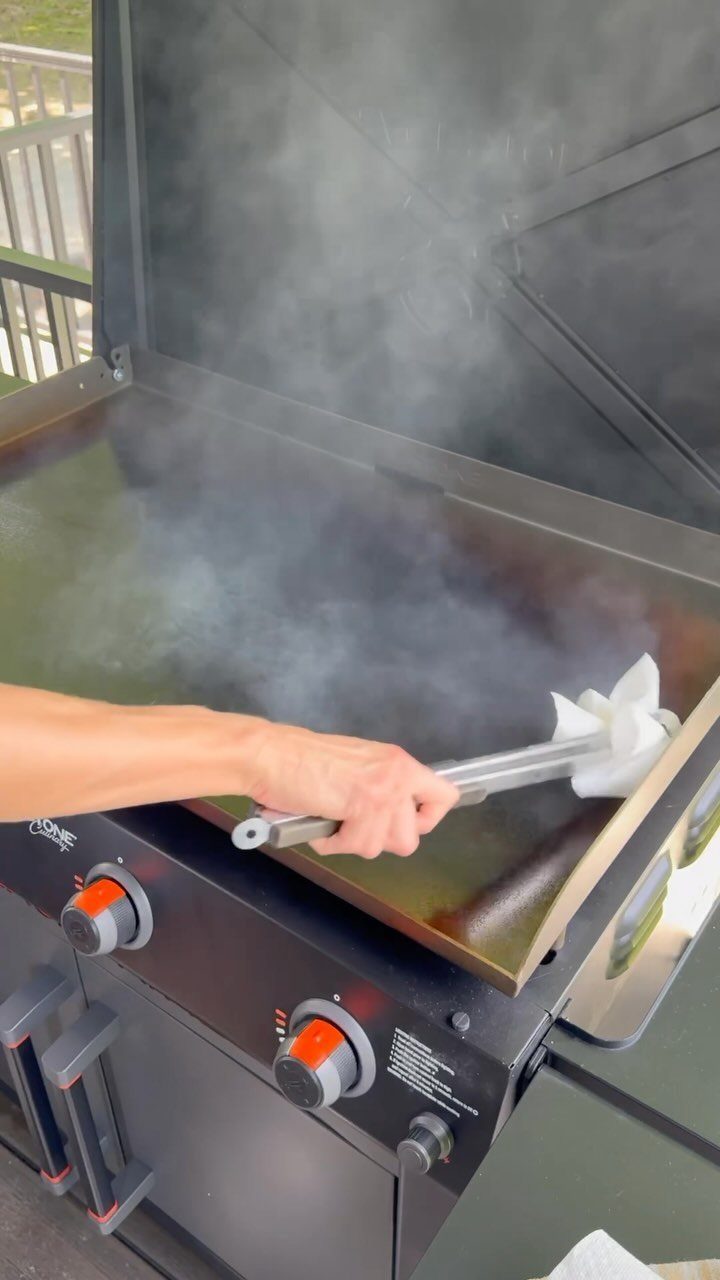
Seasoning a Blackstone griddle is the one maintenance step that determines how your food cooks and how long the steel lasts. Flaxseed oil bonds hardest, but canola or vegetable oil works fine and costs less.
Skip the thick coats; they pool and flake. One proper seasoning beats three sloppy ones, and a griddle treated this way releases eggs and pancakes without the scraper.
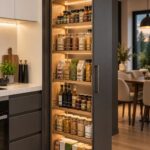
3. Built-In Cabinets and Drawers
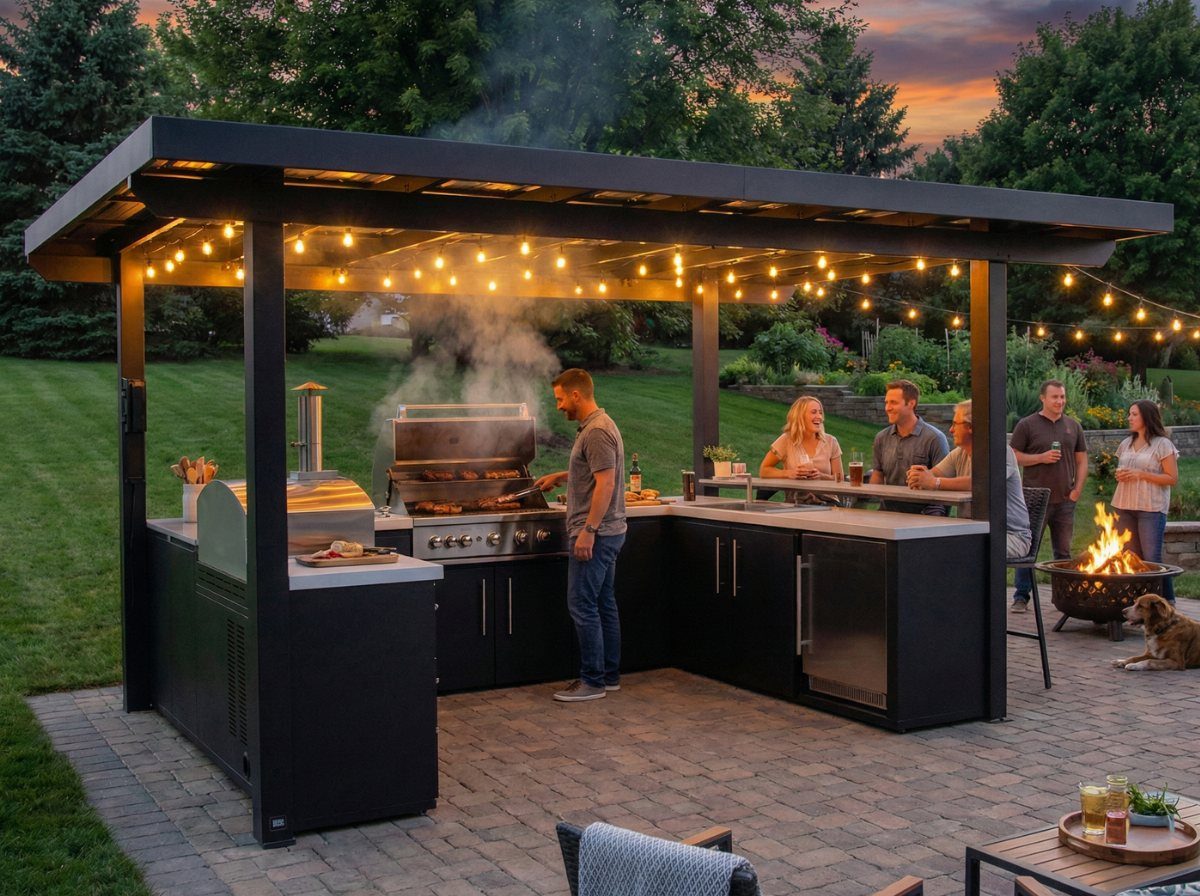
Built-in cabinets and drawers underneath an outdoor kitchen keep tools, platters and cover kits out of the weather and within arm’s reach.
I would put the drawers closest to the griddle for spatulas and scrapers you grab every cook, and reserve cabinet space for bulkier items like propane accessories or a folding table.
Marine-grade plywood or powder-coated aluminum boxes withstand rain better than standard kitchen cabinets, and soft-close drawer slides are worth the small upcharge on a station you will open with greasy hands.
This setup suits anyone tired of trekking back indoors mid-cook.
4. Cinder Block Outdoor Kitchen
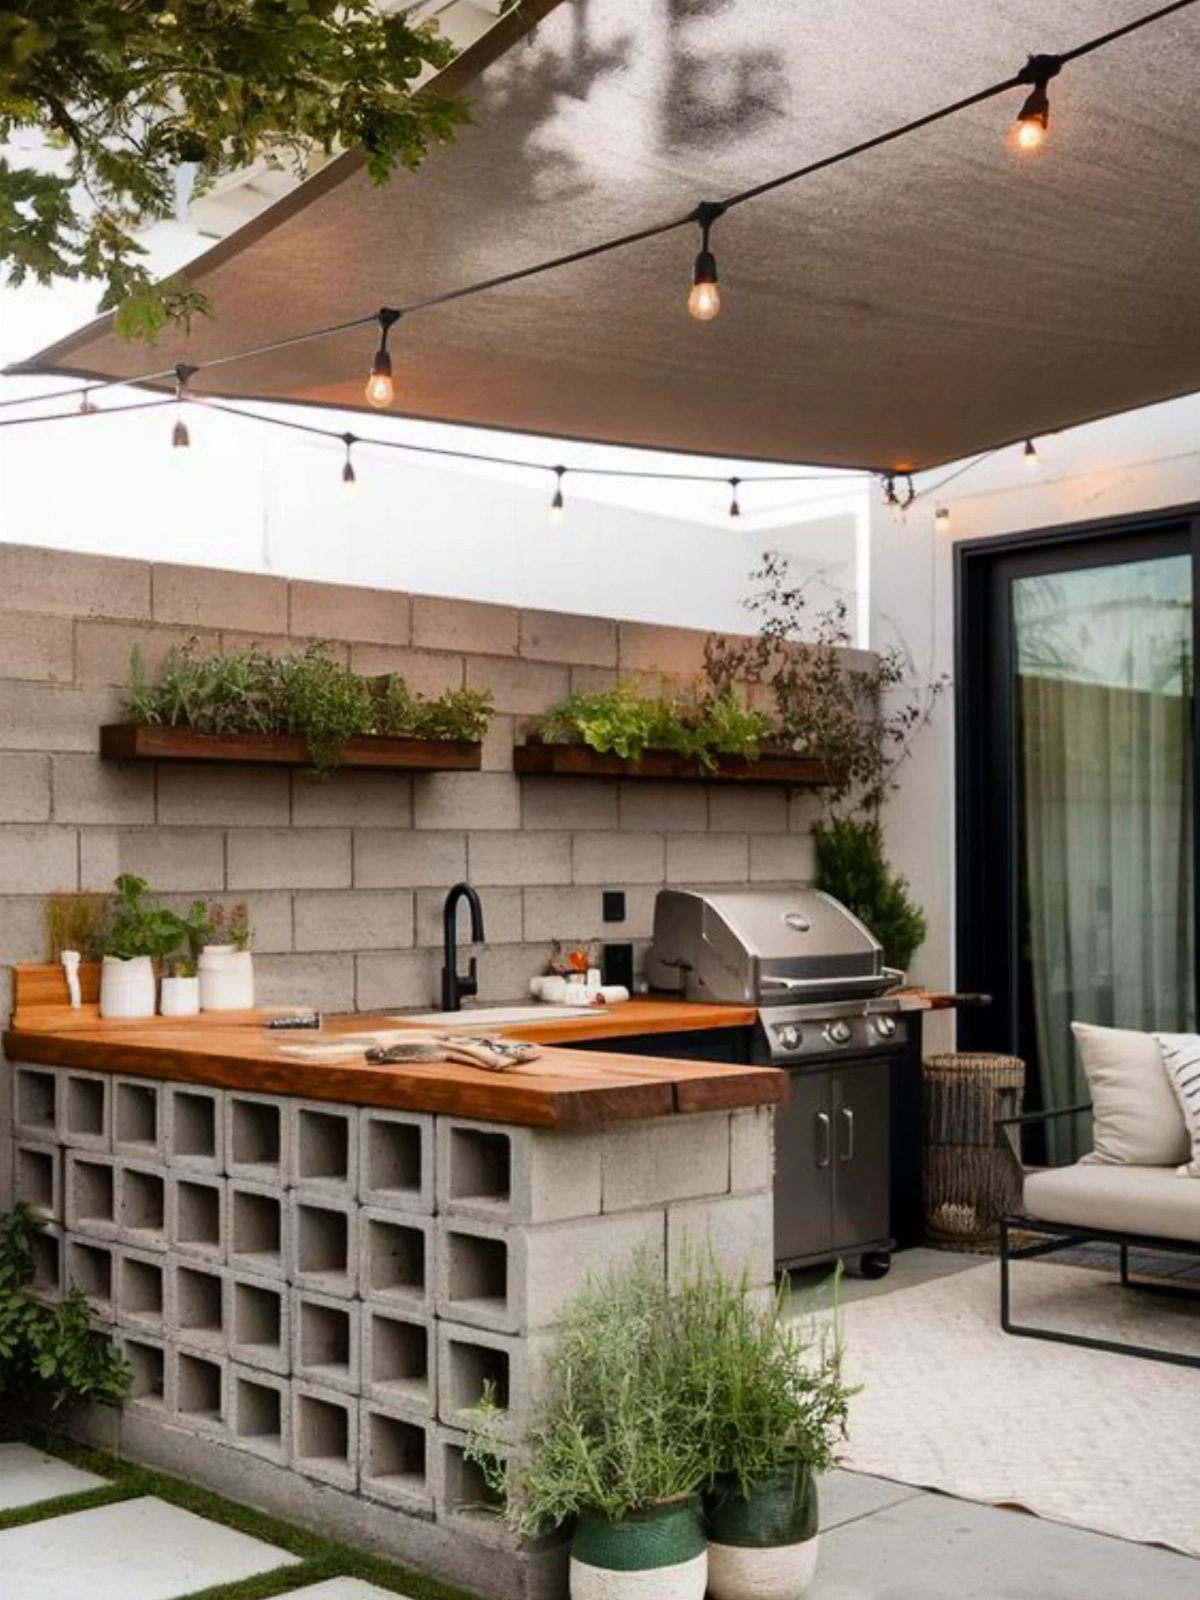
Cinder blocks stacked dry or set in a thin mortar bed make a kitchen base that costs less than prefab frames and carries the weight of a griddle, grill and concrete countertops without complaint.
I would cap the block walls with a pressure-treated 4×4 frame, then lay your countertop material across that; the voids in the blocks leave room for a propane tank or a small sink drain line.
Paint the exterior with masonry sealer or face it with stucco if the gray industrial look does not suit your patio. The finish takes time, but the structure itself goes up in a single Saturday.
5. Wooden Blackstone Griddle Cart
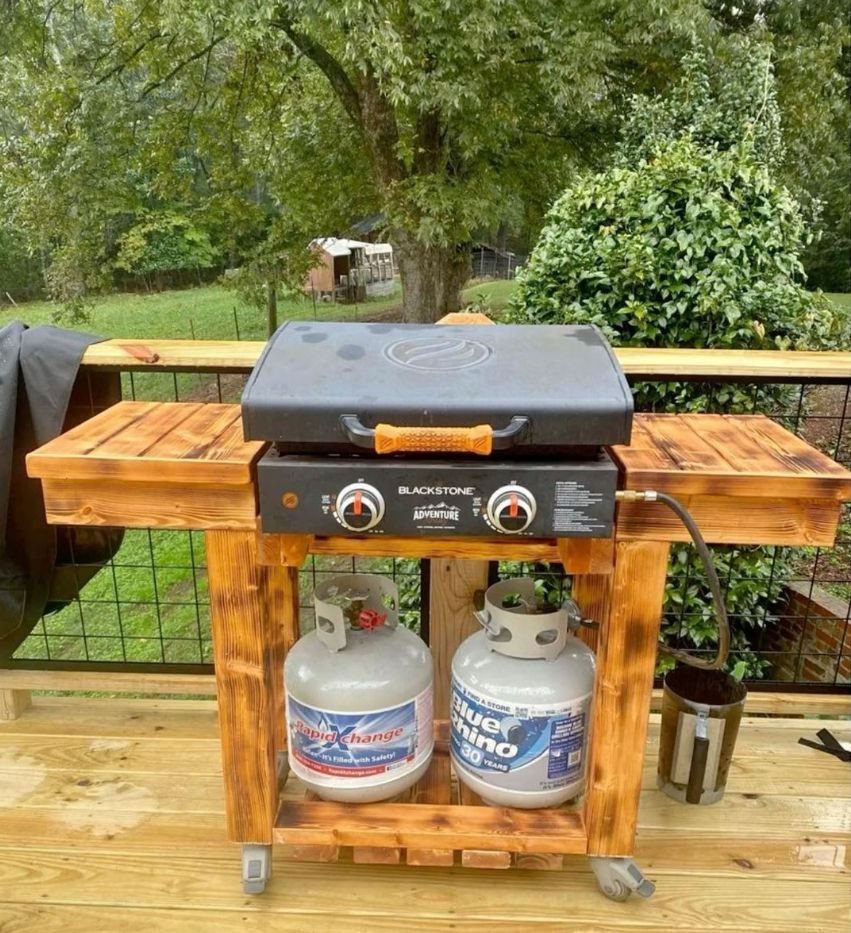
A wooden cart built to fit a tabletop Blackstone Adventure model gives you mobility and storage in one weekend’s work.
I would use 2x4s for the frame and exterior plywood for the shelves, with locking casters rated for heavy loads; the lower shelf holds 2 propane tanks, and side wings fold down when you need extra prep space.
Seal every surface with spar urethane or exterior paint, because grease and rain both find bare wood. This suits renters and anyone who reconfigures their deck seasonally; wheel it to the garage in November and back out in March.
6. Grill and Griddle Combo Station
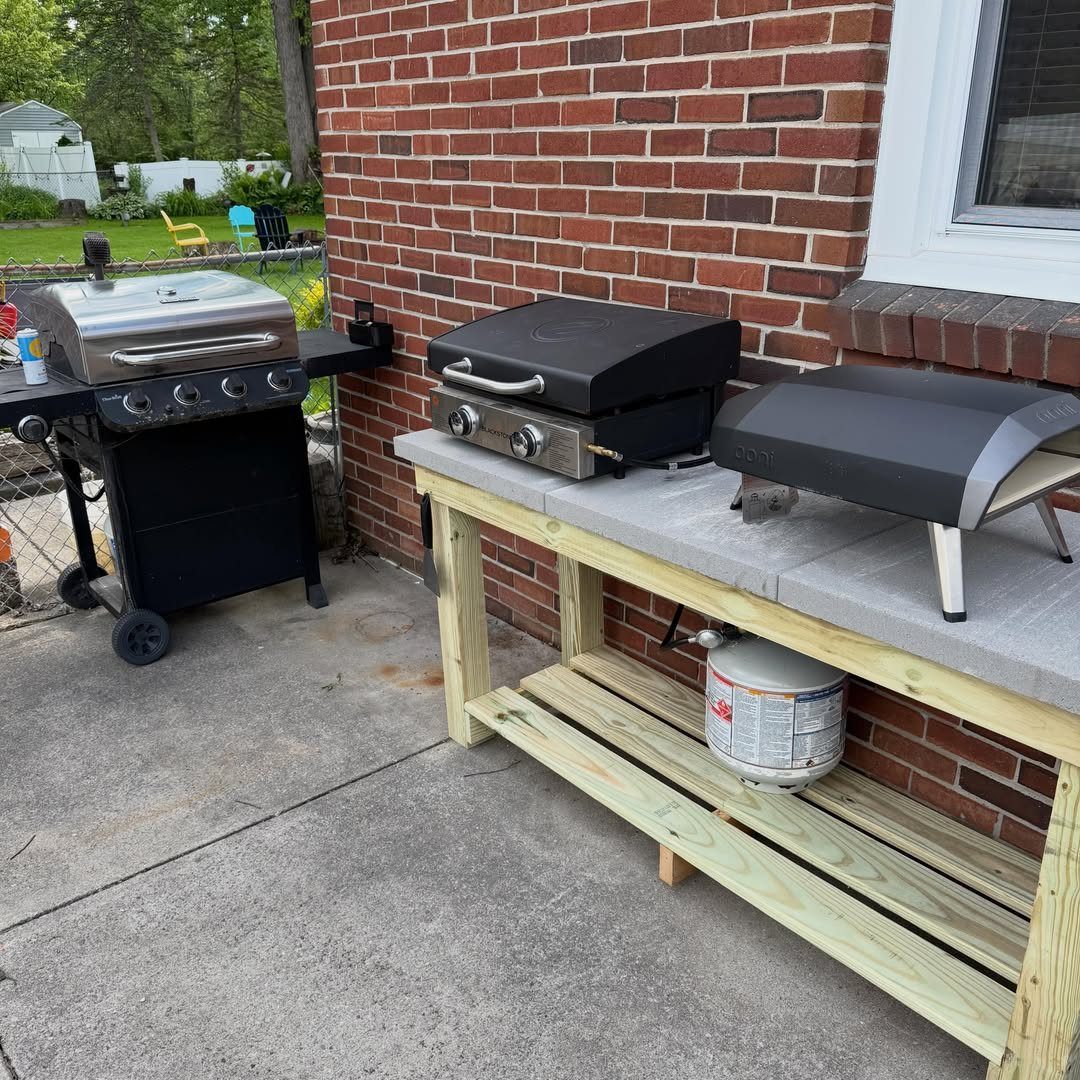
A wooden counter topped with concrete pavers and sized to hold both a Blackstone griddle and a separate gas grill lets you sear burgers on open flame while onions and peppers finish on the flat top.
I would leave enough room between the two for safe maneuvering, and slope the paver surface slightly toward a drip edge so grease and rainwater run off rather than pool.
The concrete pavers absorb heat and can crack under thermal shock, so having a paver or 2 spare makes sense.
This station demands more square footage than a griddle alone, but eliminates the choice of which cooking method to commit to tonight.
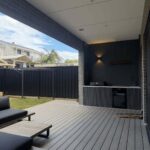
7. White Brick Griddle Island
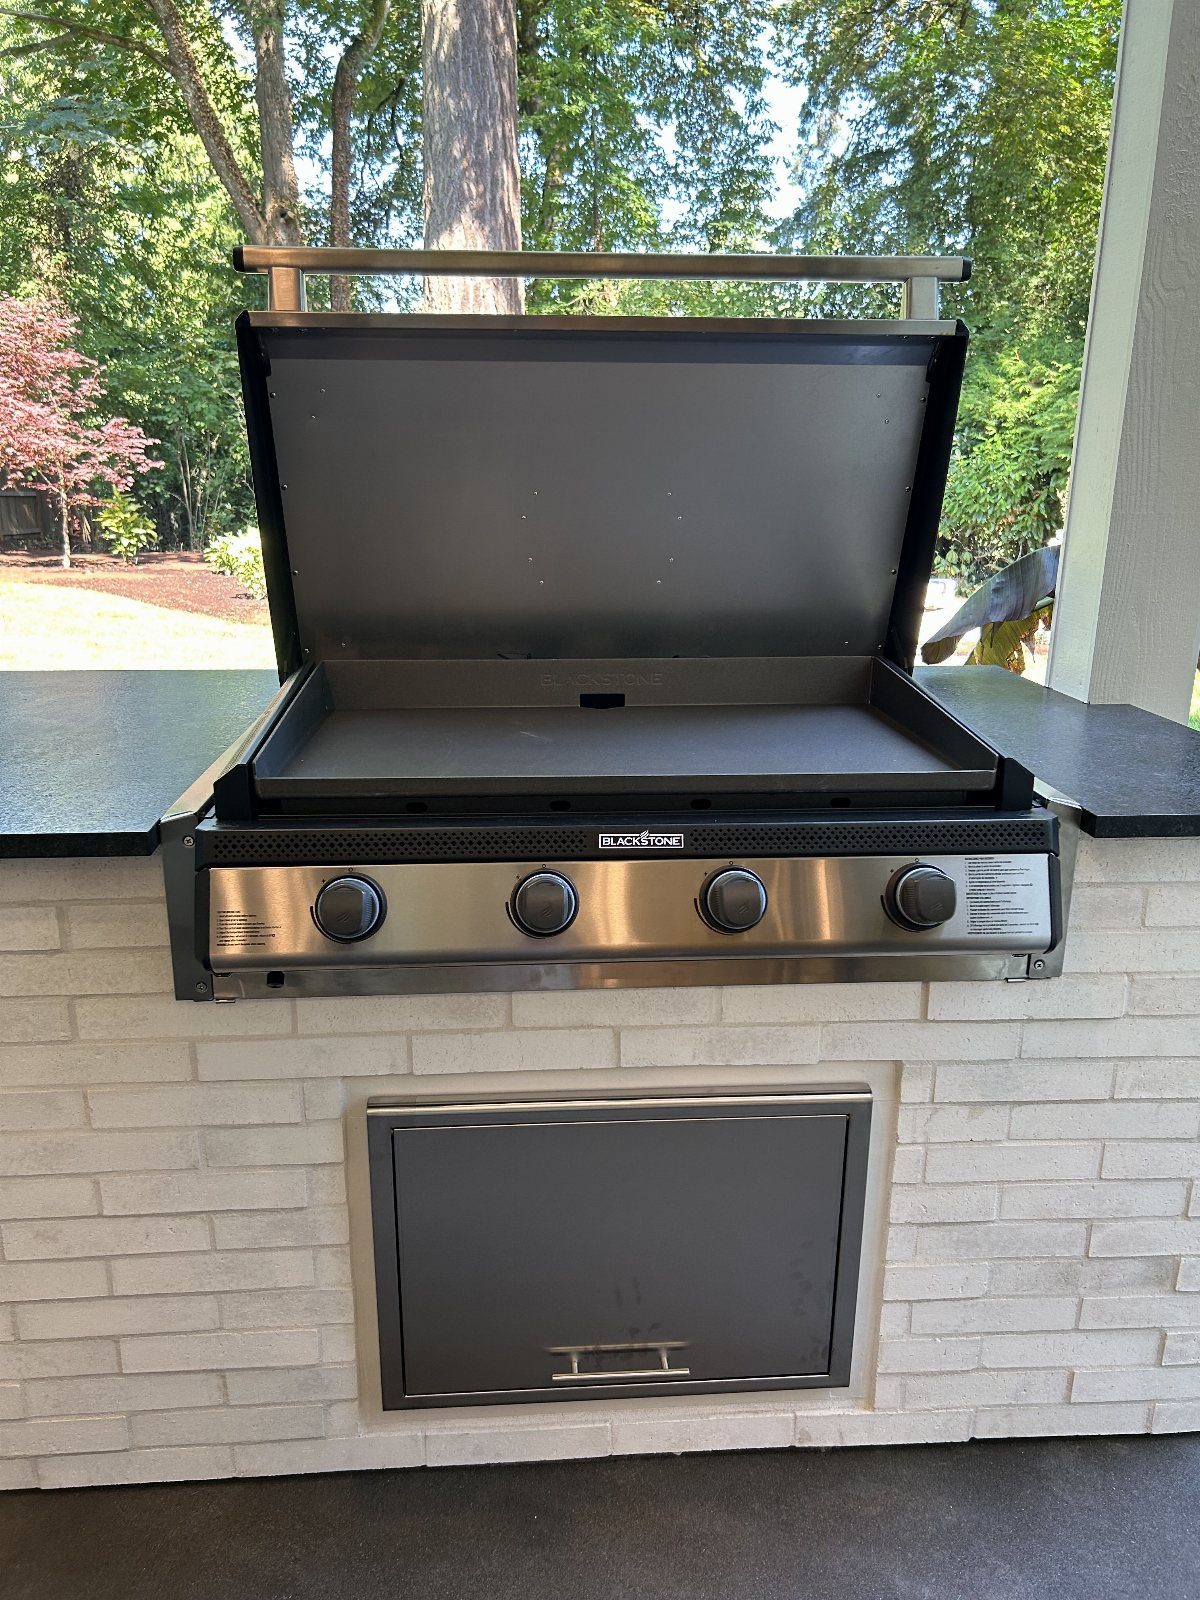
White brick reframes an outdoor kitchen as something closer to a garden wall or a cottage outbuilding than to a grilling station.
Painted brick takes color evenly and stays cleaner longer than raw brick around grease and smoke, though I find it needs touch-up every few seasons where spatters concentrate.
I would pair it with a dark counter, as the photo does, because the contrast hides the seam where cooking mess meets masonry and because black quartz or sealed concrete shows fewer streaks than lighter stone.
The stainless door below the griddle suggests a pull-out propane drawer or storage for covers and tools; either needs ventilation if gas lives inside.
This island suits a patio where the house itself is painted brick or siding, because the kitchen then reads as an extension rather than an afterthought.
Frequently Asked Questions
How do I include the Blackstone in my outdoor kitchen?
Blackstone sells built-in griddle units meant for outdoor kitchen installation; the freestanding models with legs are not designed to drop into enclosed cabinetry, and doing so without proper ventilation clearance creates a fire hazard.
Match the cutout to your specific griddle model, leave the air gaps the manufacturer calls for, and decide early whether you are running a gas line or tucking a propane tank out of sight.
What are the key features of the Blackstone Griddle?
The Blackstone offers a large flat cooking surface with multiple independently controlled burners underneath. That surface heats evenly across its whole width, which matters when you are cooking pancakes on one side and bacon on the other.
For a built-in outdoor kitchen, the removable legs are the feature that matters most; they let the griddle drop into a counter cutout instead of standing alone.